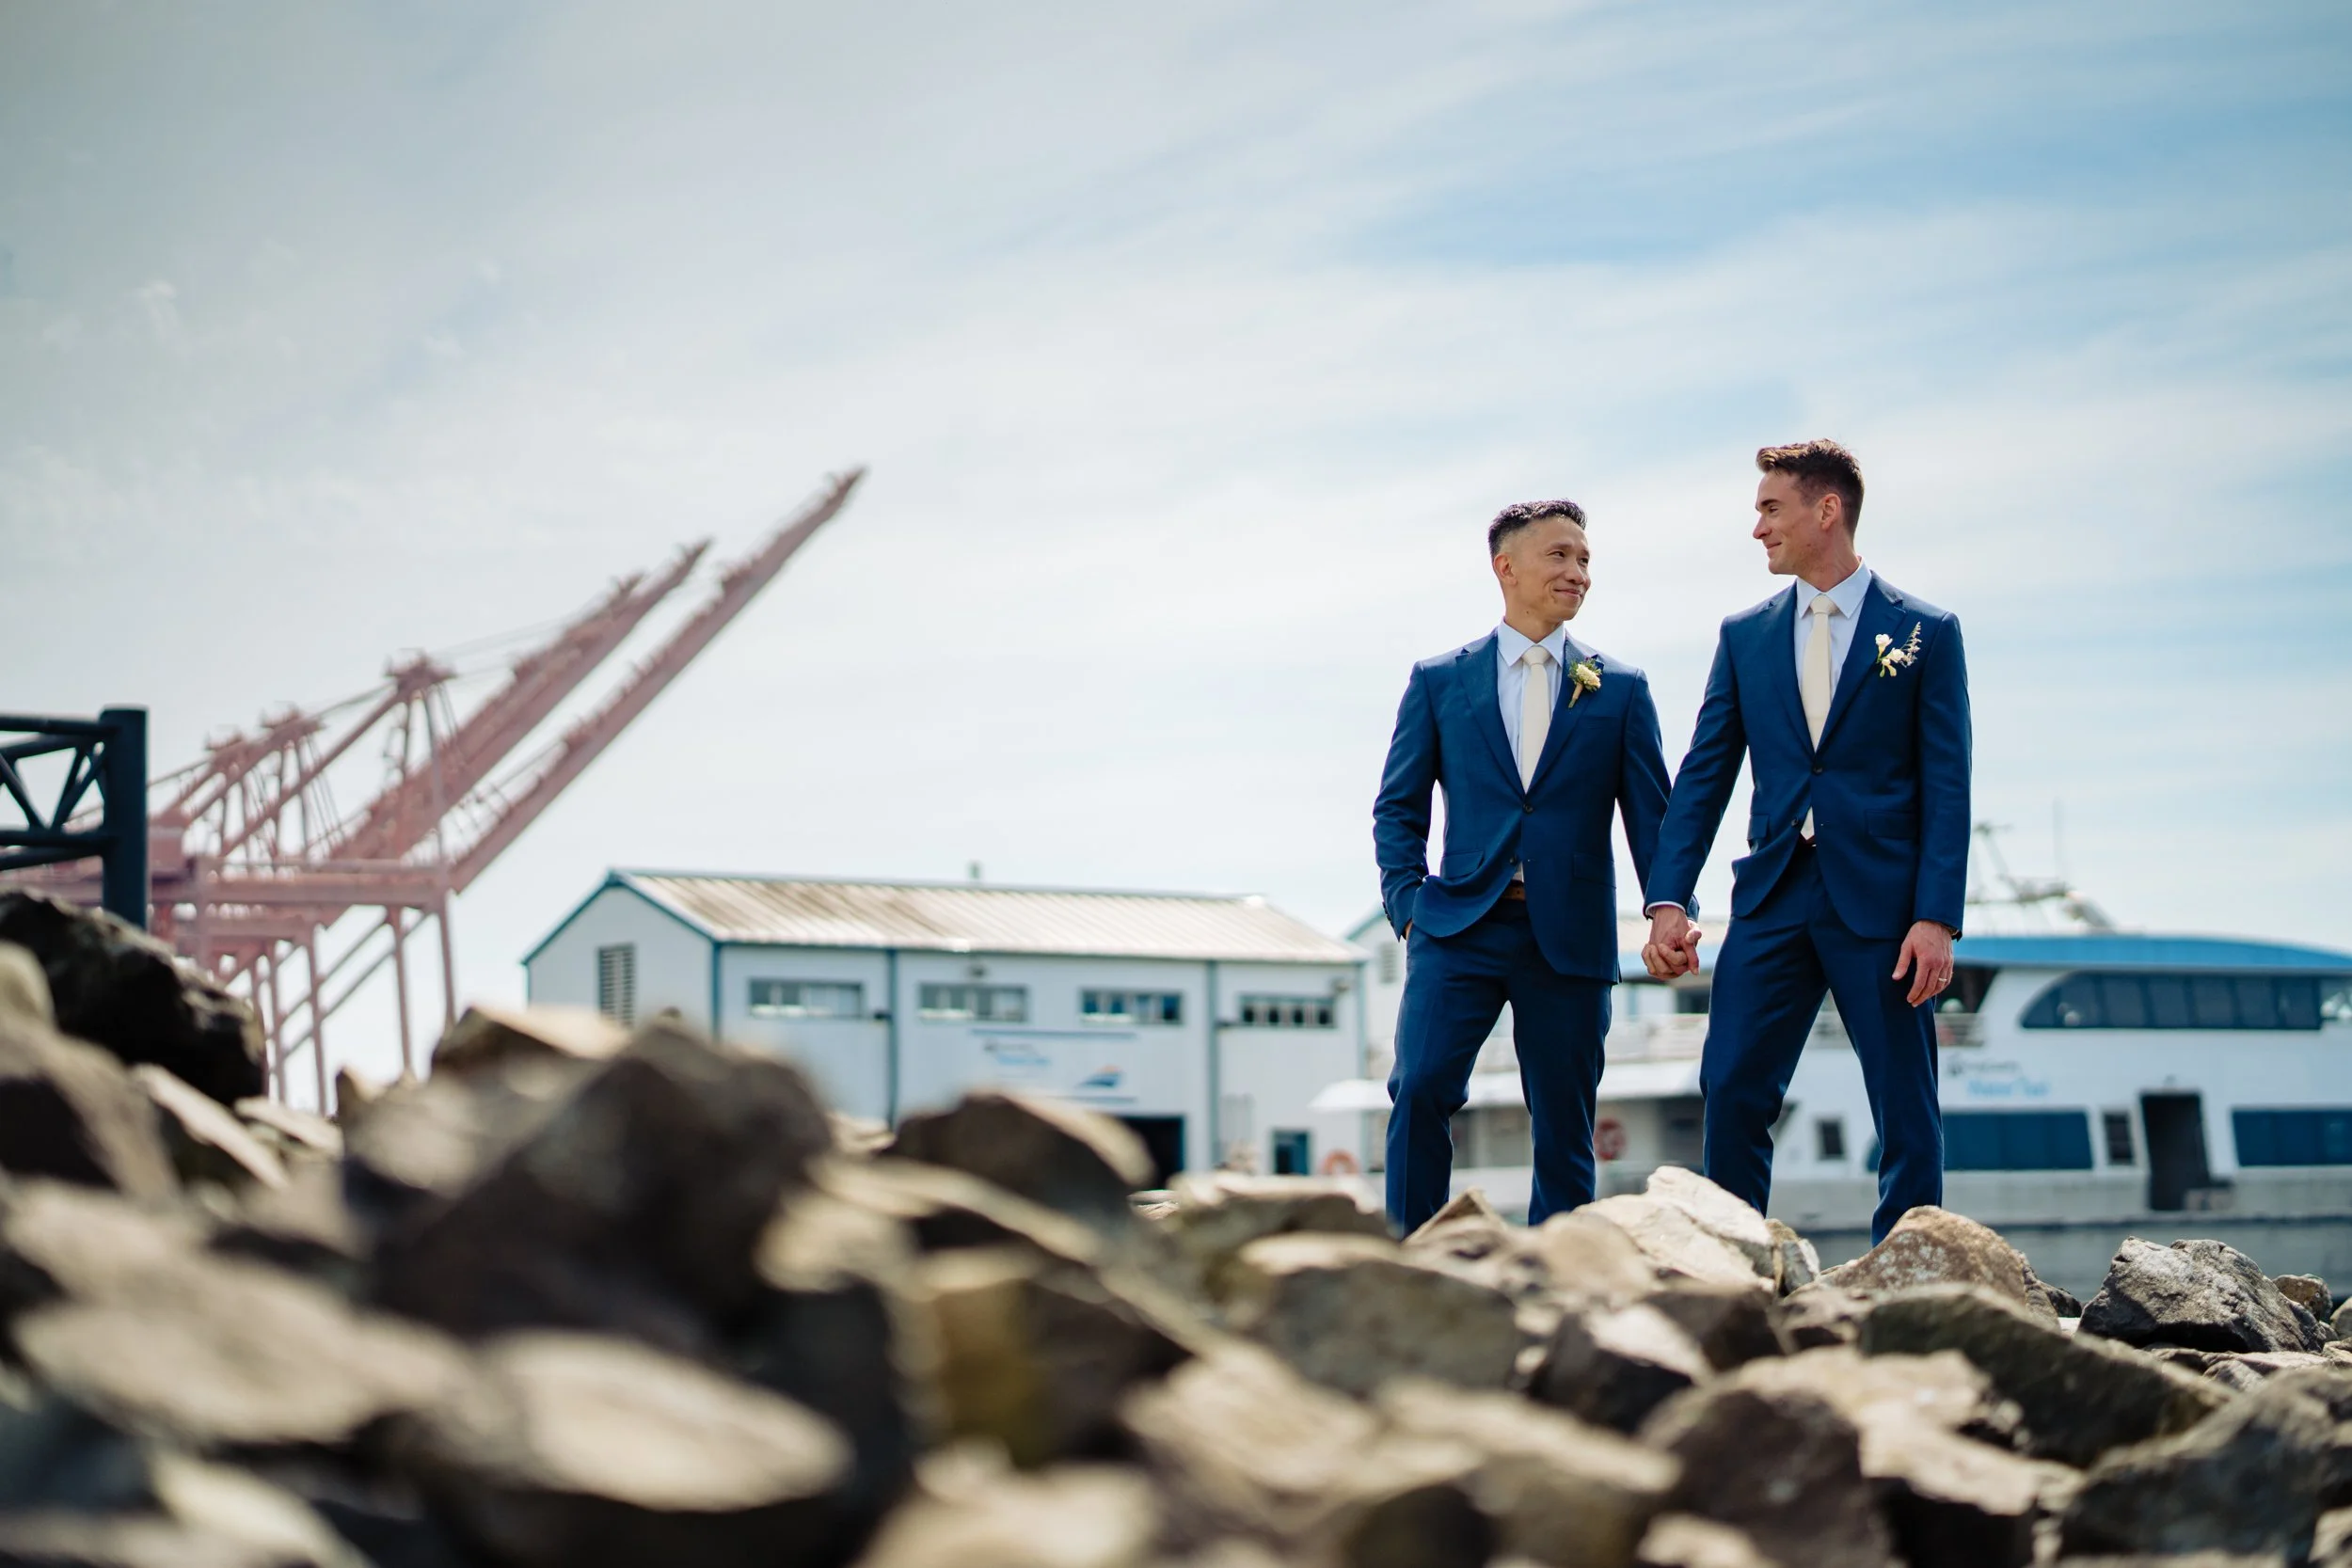
John and AJ’s Seattle Elopement at the Municipal Court
When John and AJ planned their Seattle elopement, they didn’t expect the city itself to become such a big part of the day.
The grooms wore matching blue suits and brown shoes. As we started walking through downtown before the ceremony, something unexpected happened. Total strangers kept congratulating them. From people on the sidewalks to drivers waving as they passed, the spontaneous support from random Seattleites ended up being one of the most memorable parts of their afternoon.
Read More
Warehousing and Logistics Stories
I learned a lot about warehousing and logistics shooting for some very cool clients just south of Seattle. I set p to get some motion blur on a pair of forklifts. This particular warehouse is fully dedicated to appliances.
Read More
Headshots vs. Marketing Portraits
It came as a bit of a surprise to me when I found out that many photographers price headshots and portraits as completely separate product lines. To me, they have never been two different things. You have a portrait session, and a headshot simply ends up being a part of that by cropping the photograph a little tighter.
Read More
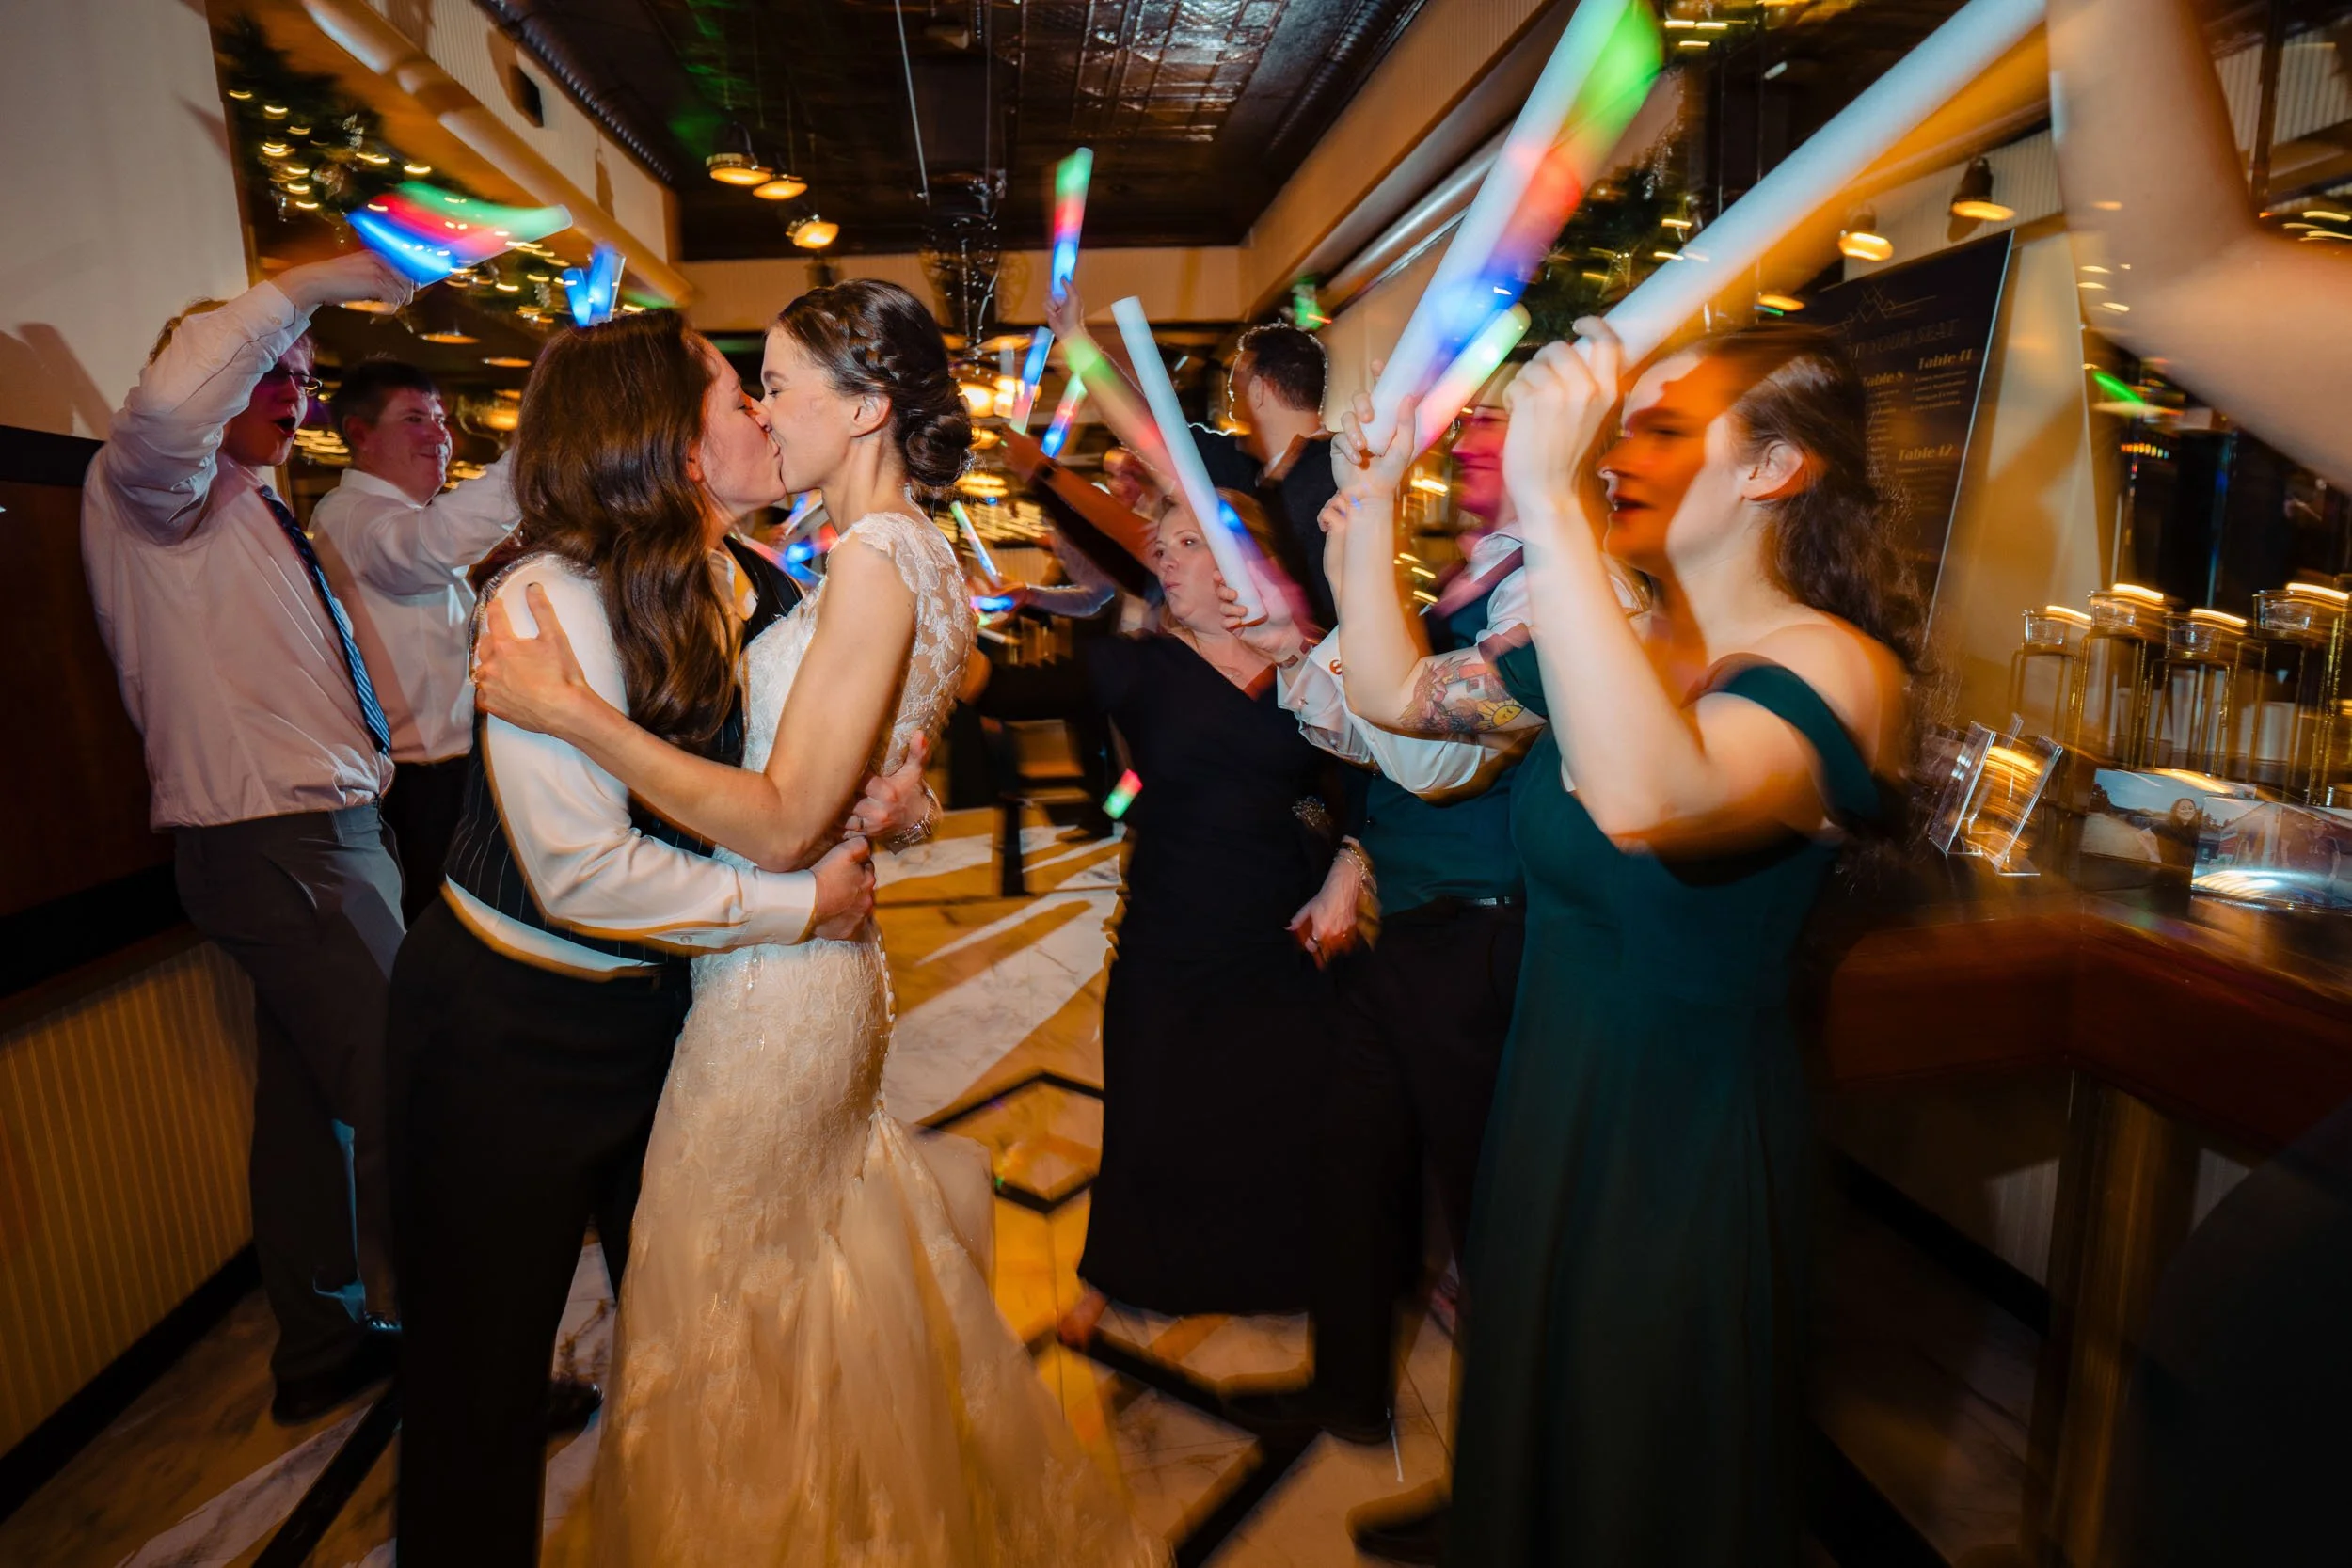
A Natural Narrative: Audrey and Alex at Willows Lodge
The wedding of Audrey and Alex at Willows Lodge was a beautiful example of how a setting and a story can weave together. From the first quiet moments in the gardens to the exuberant energy of the reception, the day followed a wonderful narrative arc that was a joy to document.
Read More
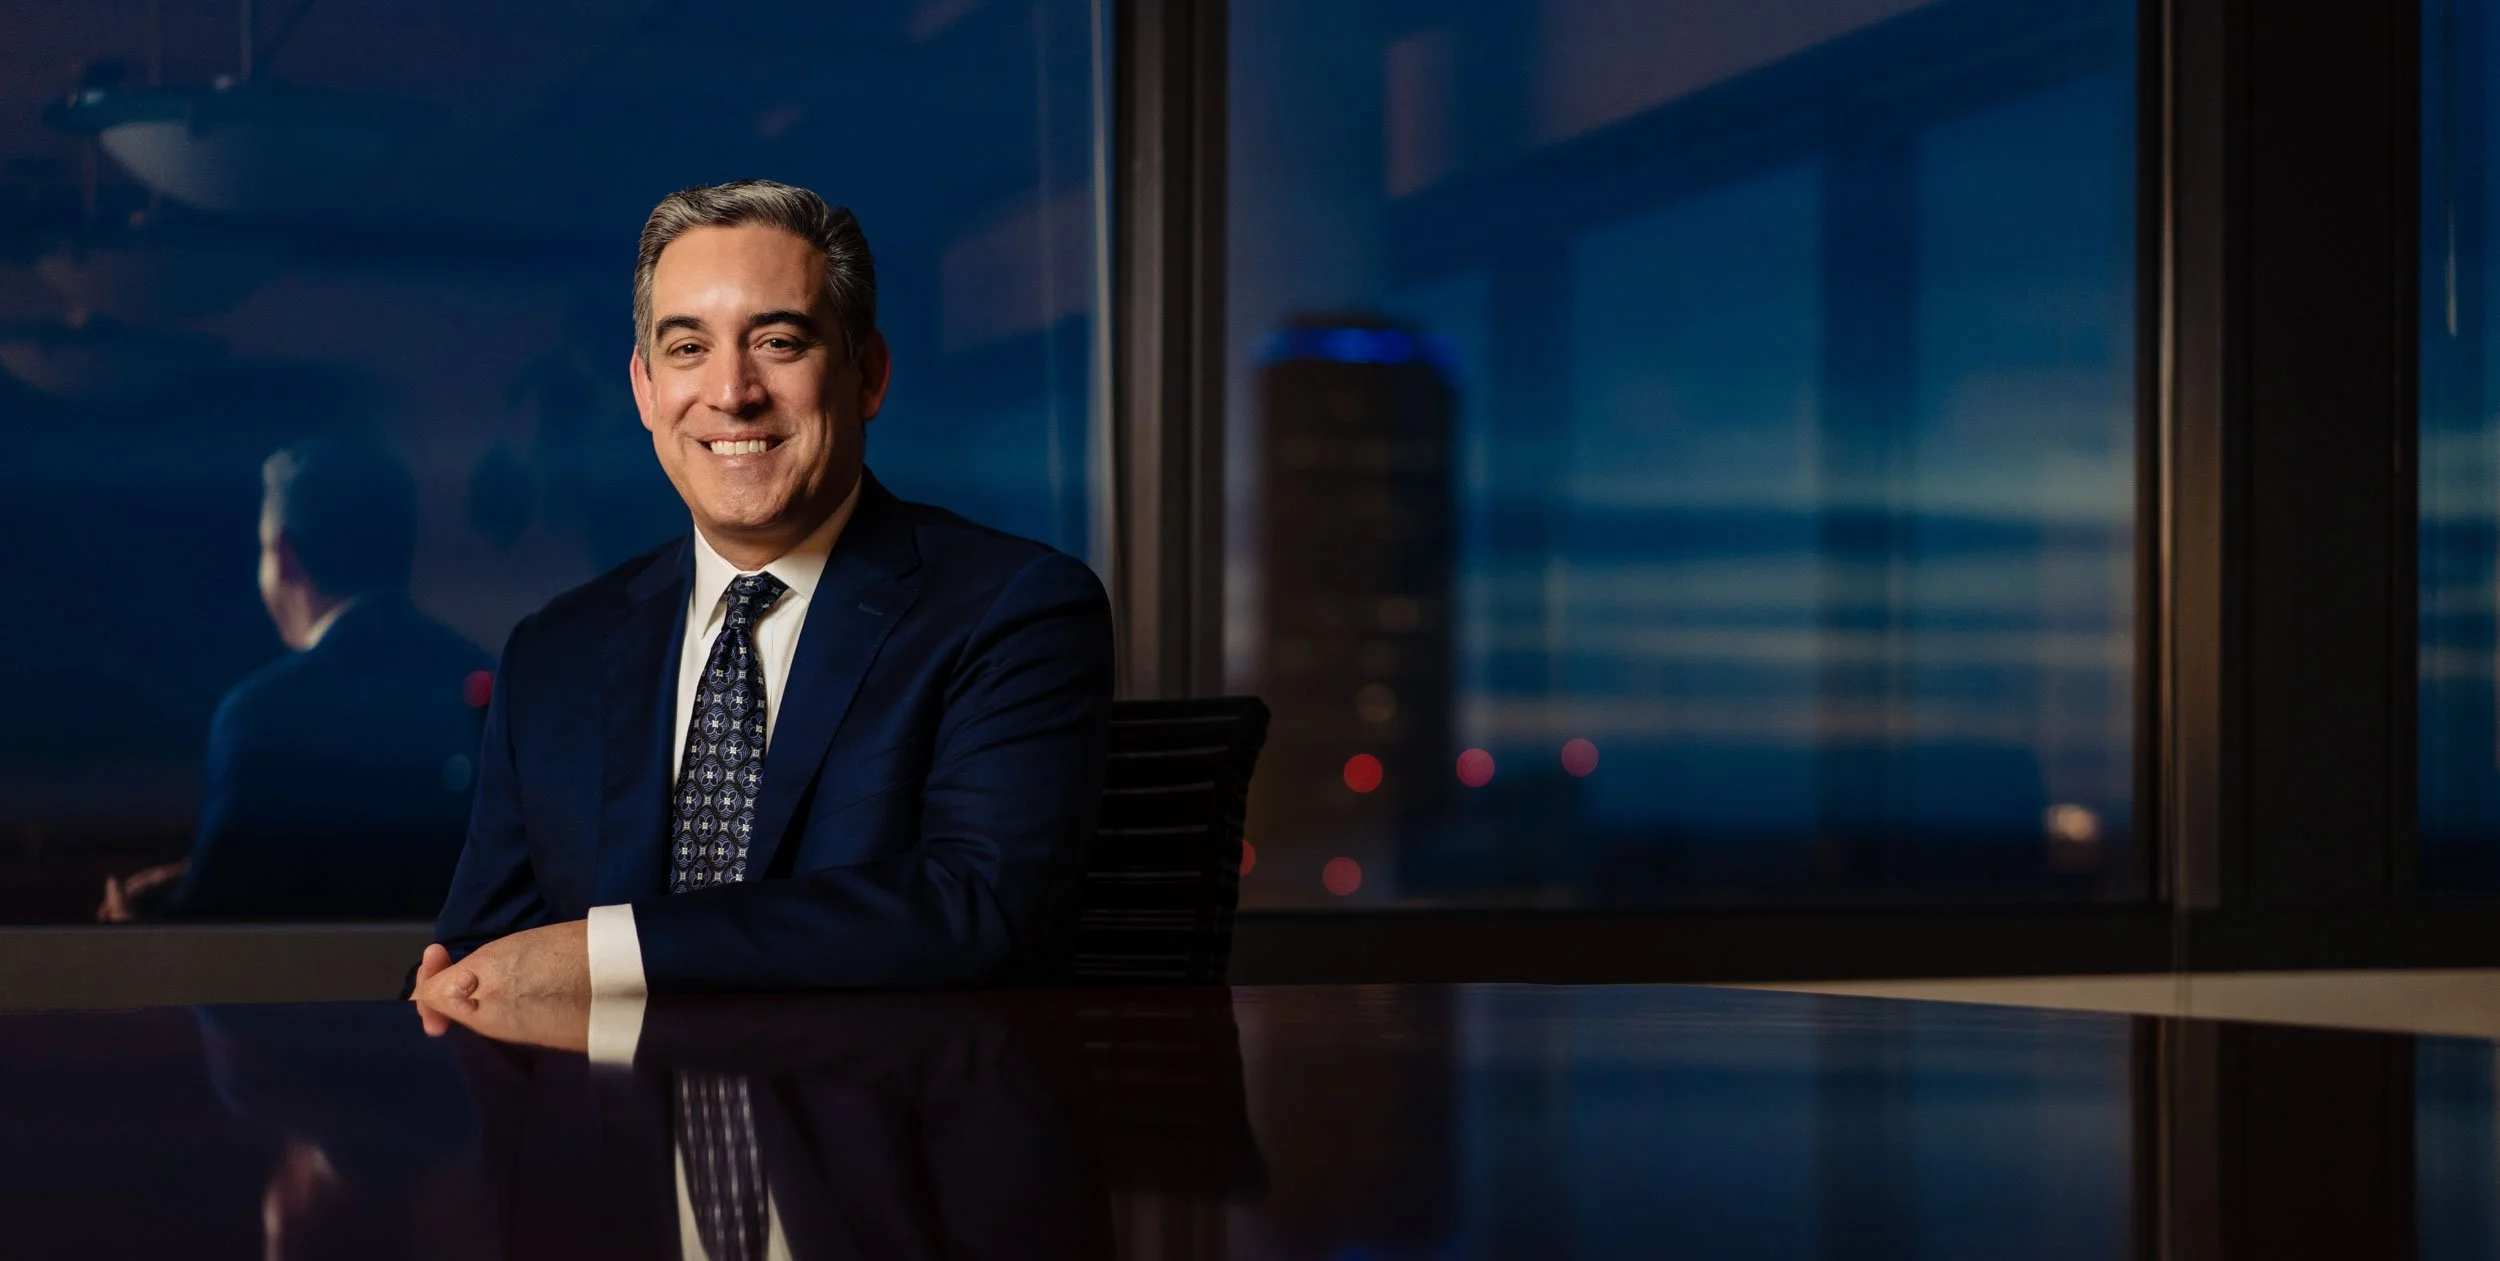
Behind the Lens: Engineering an IT Professional’s Portrait
I recently had the pleasure of photographing John, an IT professional, for a magazine feature. While the final image needs to stand on its own, I find that explaining the "how" can be just as interesting as the "what." This session was a great opportunity to lean into some core lighting principles I’ve used throughout my career in Seattle.
Read More
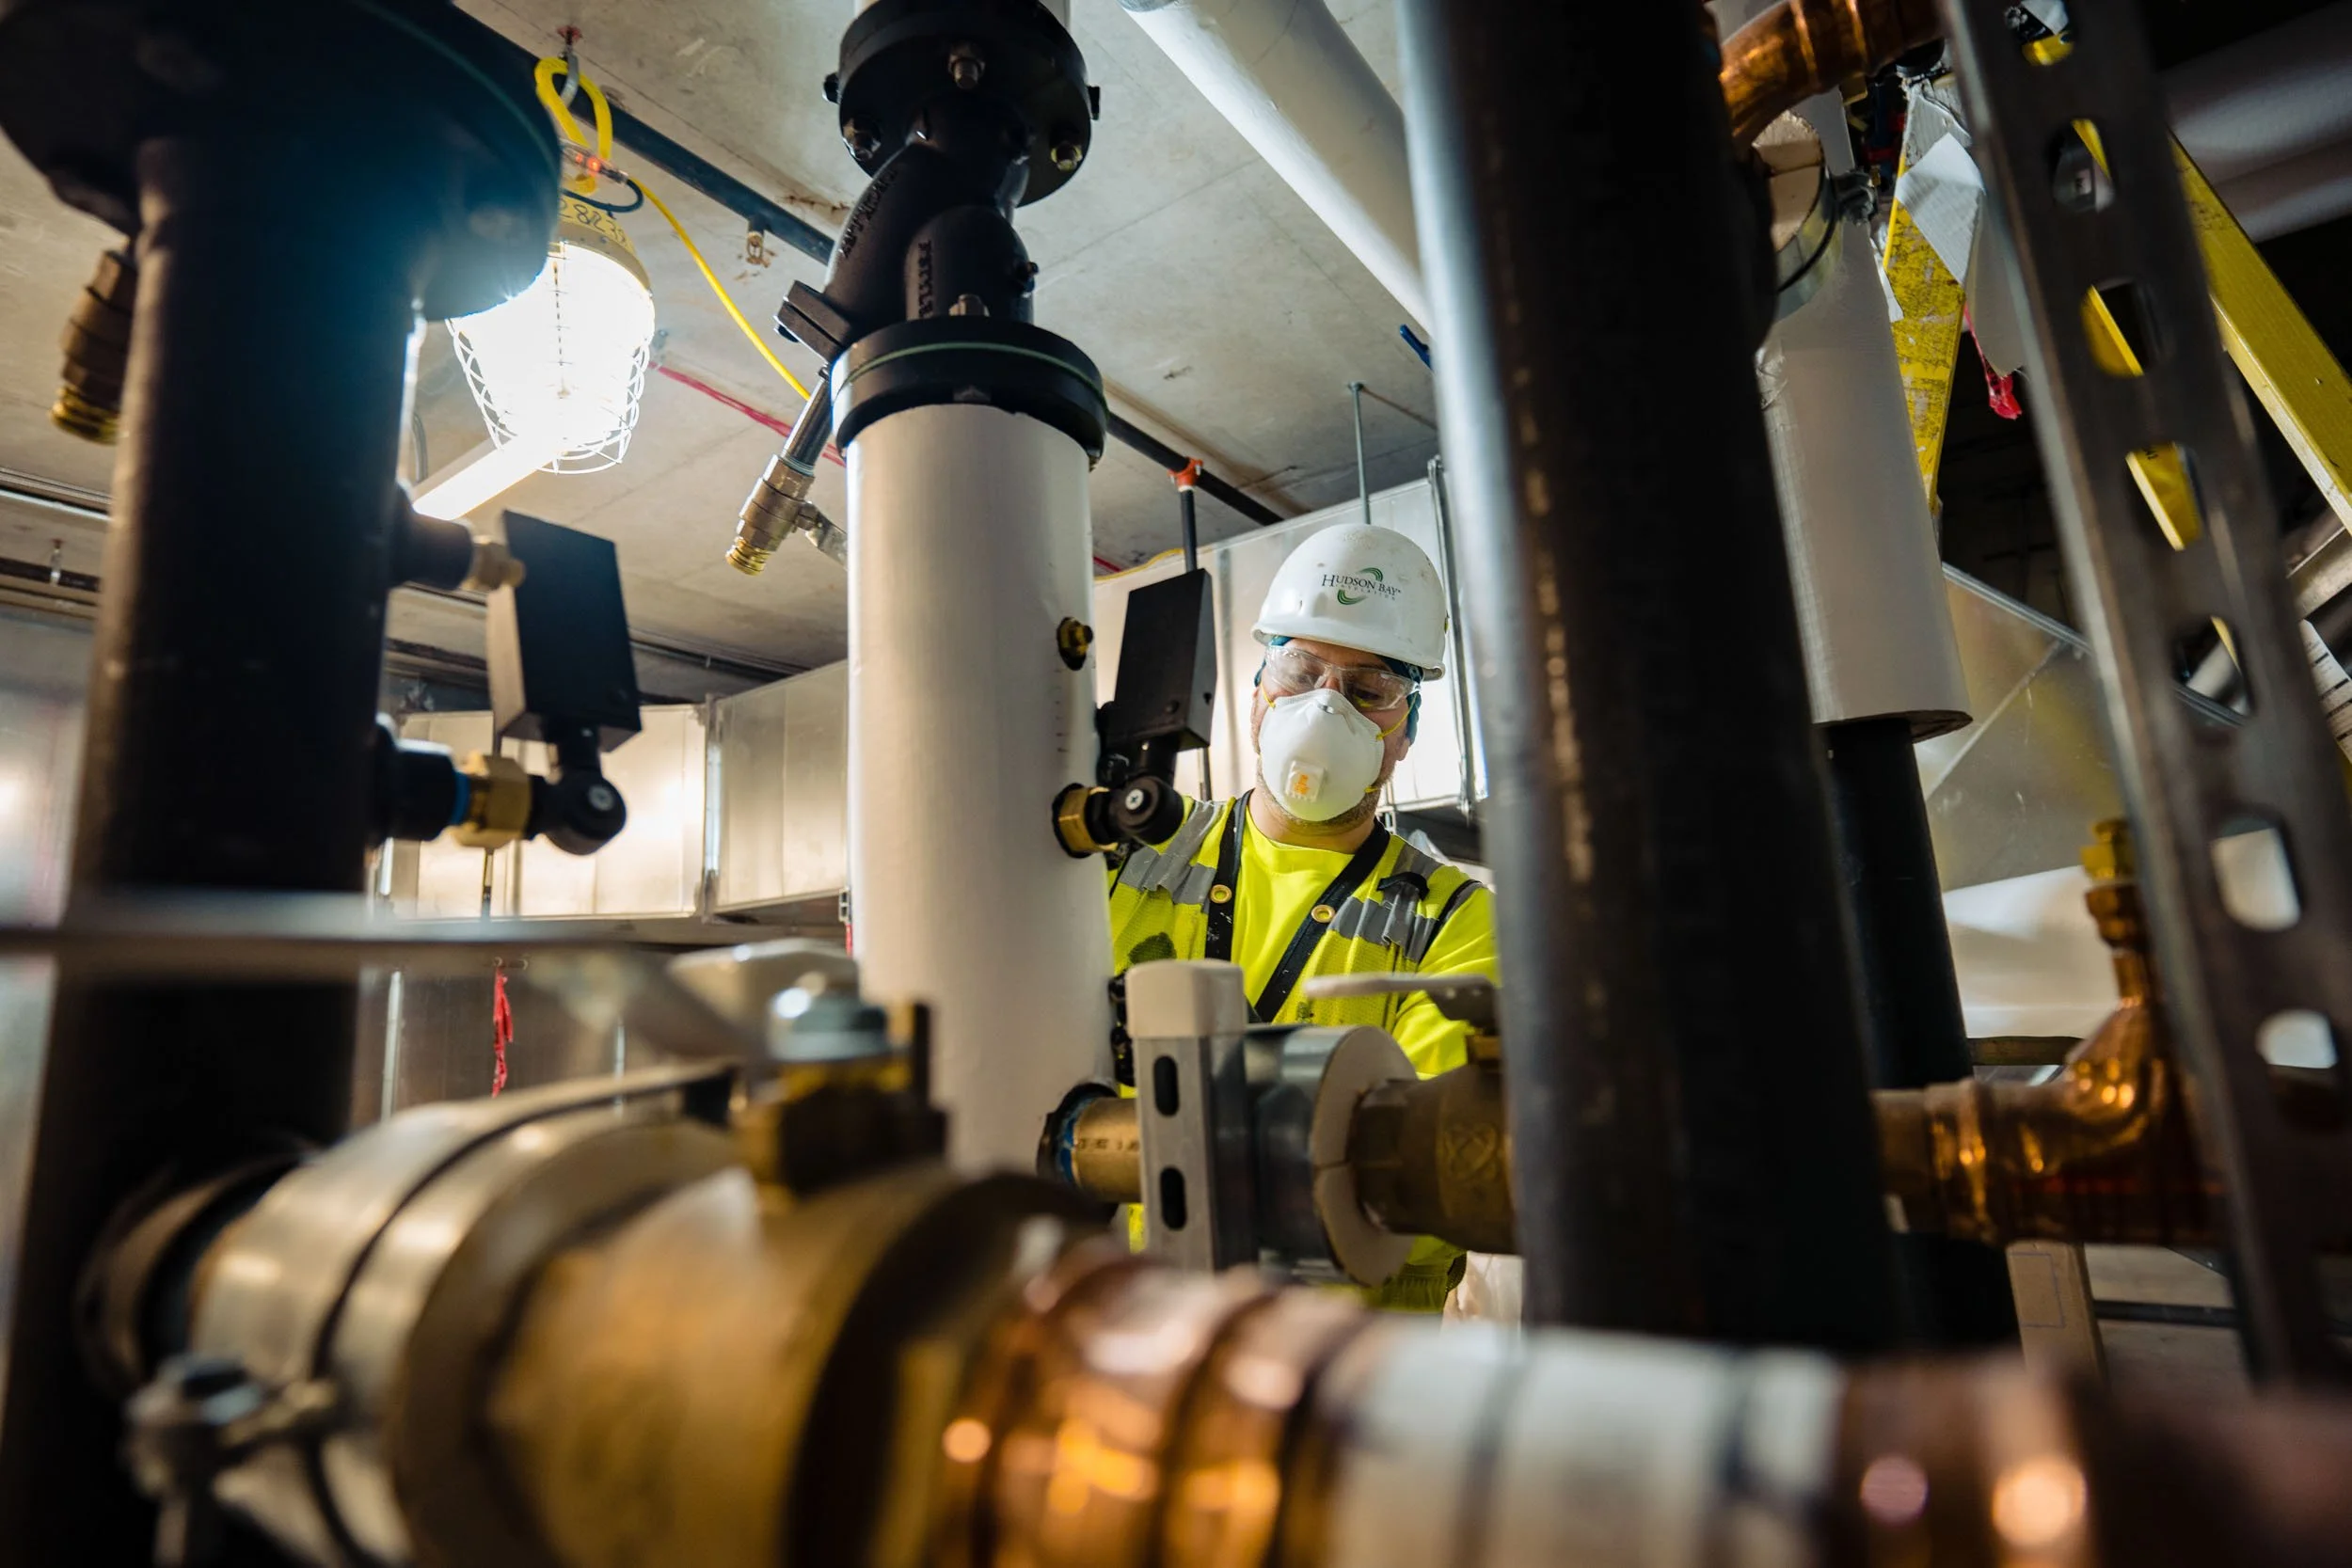
One of the best perks of being a commercial photographer is the "backstage pass" that comes with the job. I get to walk into buildings and construction sites most people only see from the street and witness the fascinating, complex work that keeps our world running.
Read More
The Visual Edge: Why Commercial Photography is a Business Essential
In a world of limited time and shrinking attention spans, your business, brand, and products are in a relentless competition to be noticed. While long-form articles and detailed descriptions are essential once a customer is interested, you first have to convince them to look.
That is where professional photography comes in. Brands that are instantly compelling and communicate their story with a single glance are the ones that get the opportunity to tell their full story.
Read More
Building the Aquarium - Behind the Scenes with the Ironworkers Union
Now that the Seattle Aquarium’s Ocean Pavilion is a completed centerpiece of our waterfront, it is easy to forget the massive amount of work that went into creating it. But long before the first gallon of water was added, I had the privilege of documenting the beginning of this project: the massive amount web of steel that holds it all together.
Read More
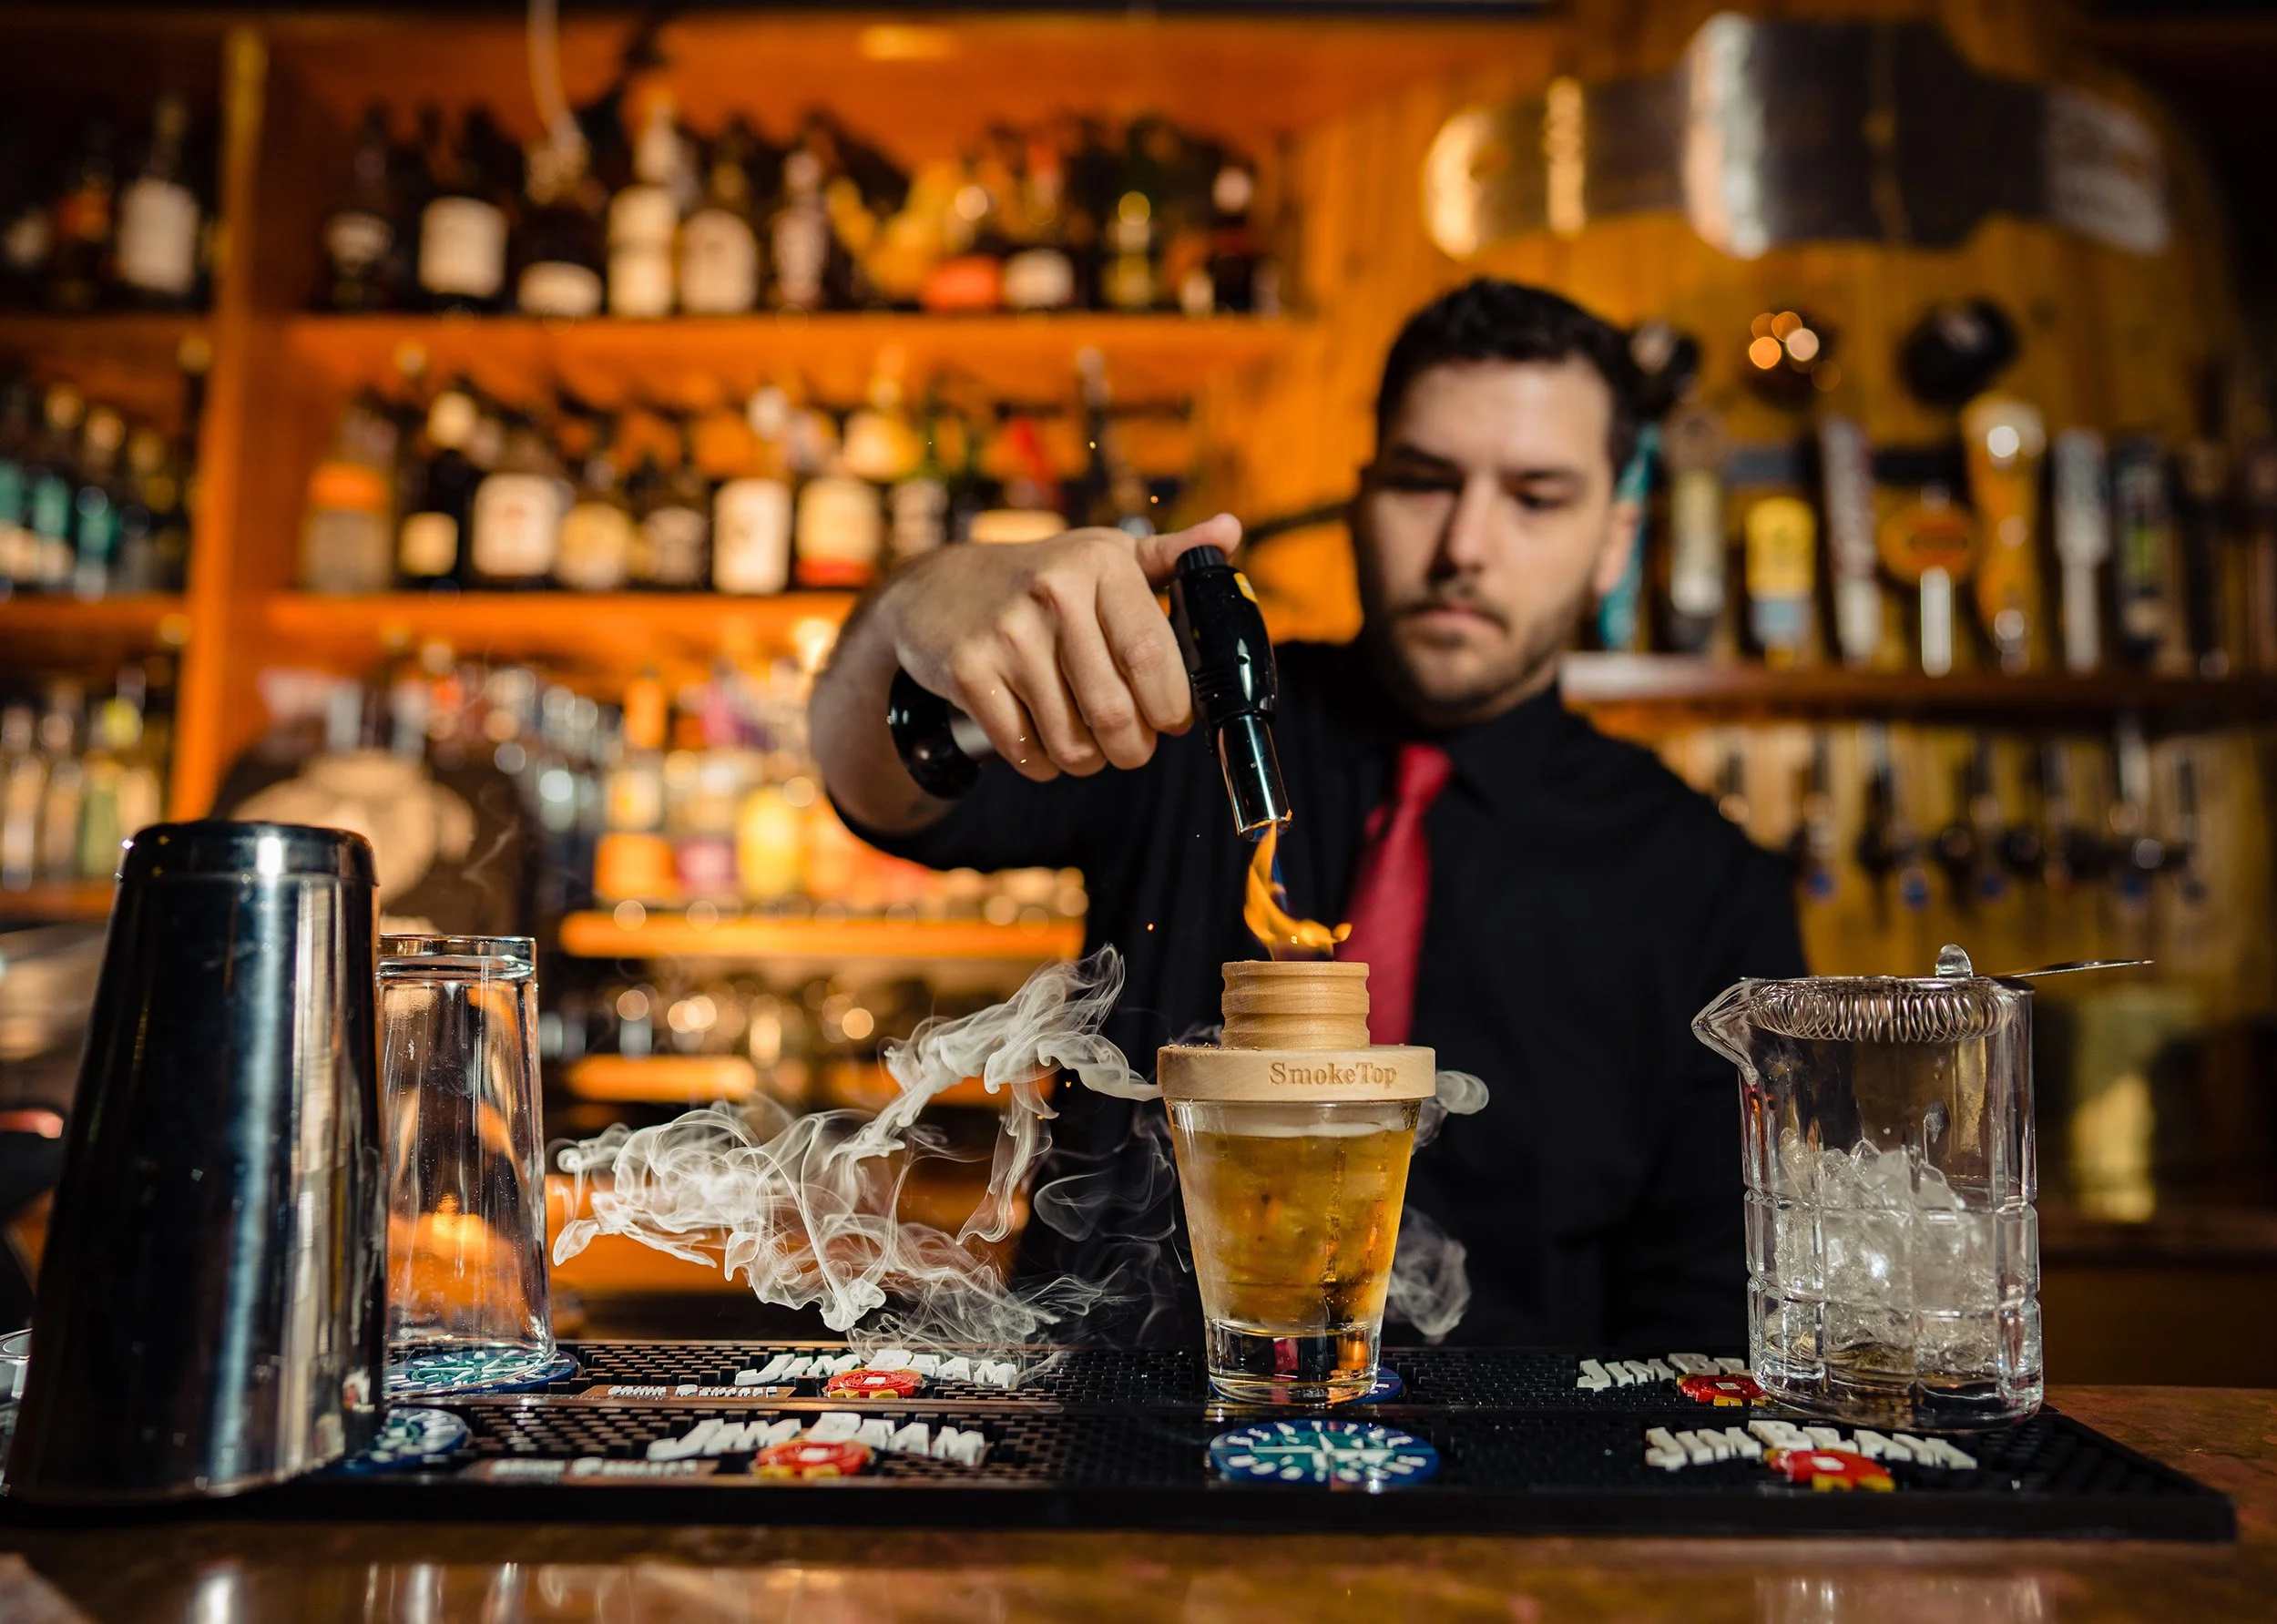
The Craft of the Cocktail: Photographing the Smoke Top Experience
There is a specific kind of craftsmanship that goes into a great drink, especially one that involves fire and smoke. When I was asked to capture the Smoke Top in action, my goal was to make the viewer feel like they were sitting right there at the bar, smelling the charred wood and waiting for that first sip.
A smoked Old Fashioned is as much about the process as it is the flavor. To do justice to the product, I wanted the lighting to feel as warm and inviting as the drink itself. This wasn't just about a "product shot"—it was about capturing the focus of the bartender and the unique atmosphere of the space.
Read More
The Old Fire House: Documenting a Legacy in Redmond
I recently spent the day in Redmond documenting a significant moment for the community: the Legacy Celebration for the Old Fire House (OFH) Teen Center. The City hired me to capture the day as they prepare to transition the site for the new Teen Center Project.
For over 30 years, this building has been a hub for young musicians and a second home for a lot of people. The energy was a mix of a celebration and a nostalgic farewell.
Read More
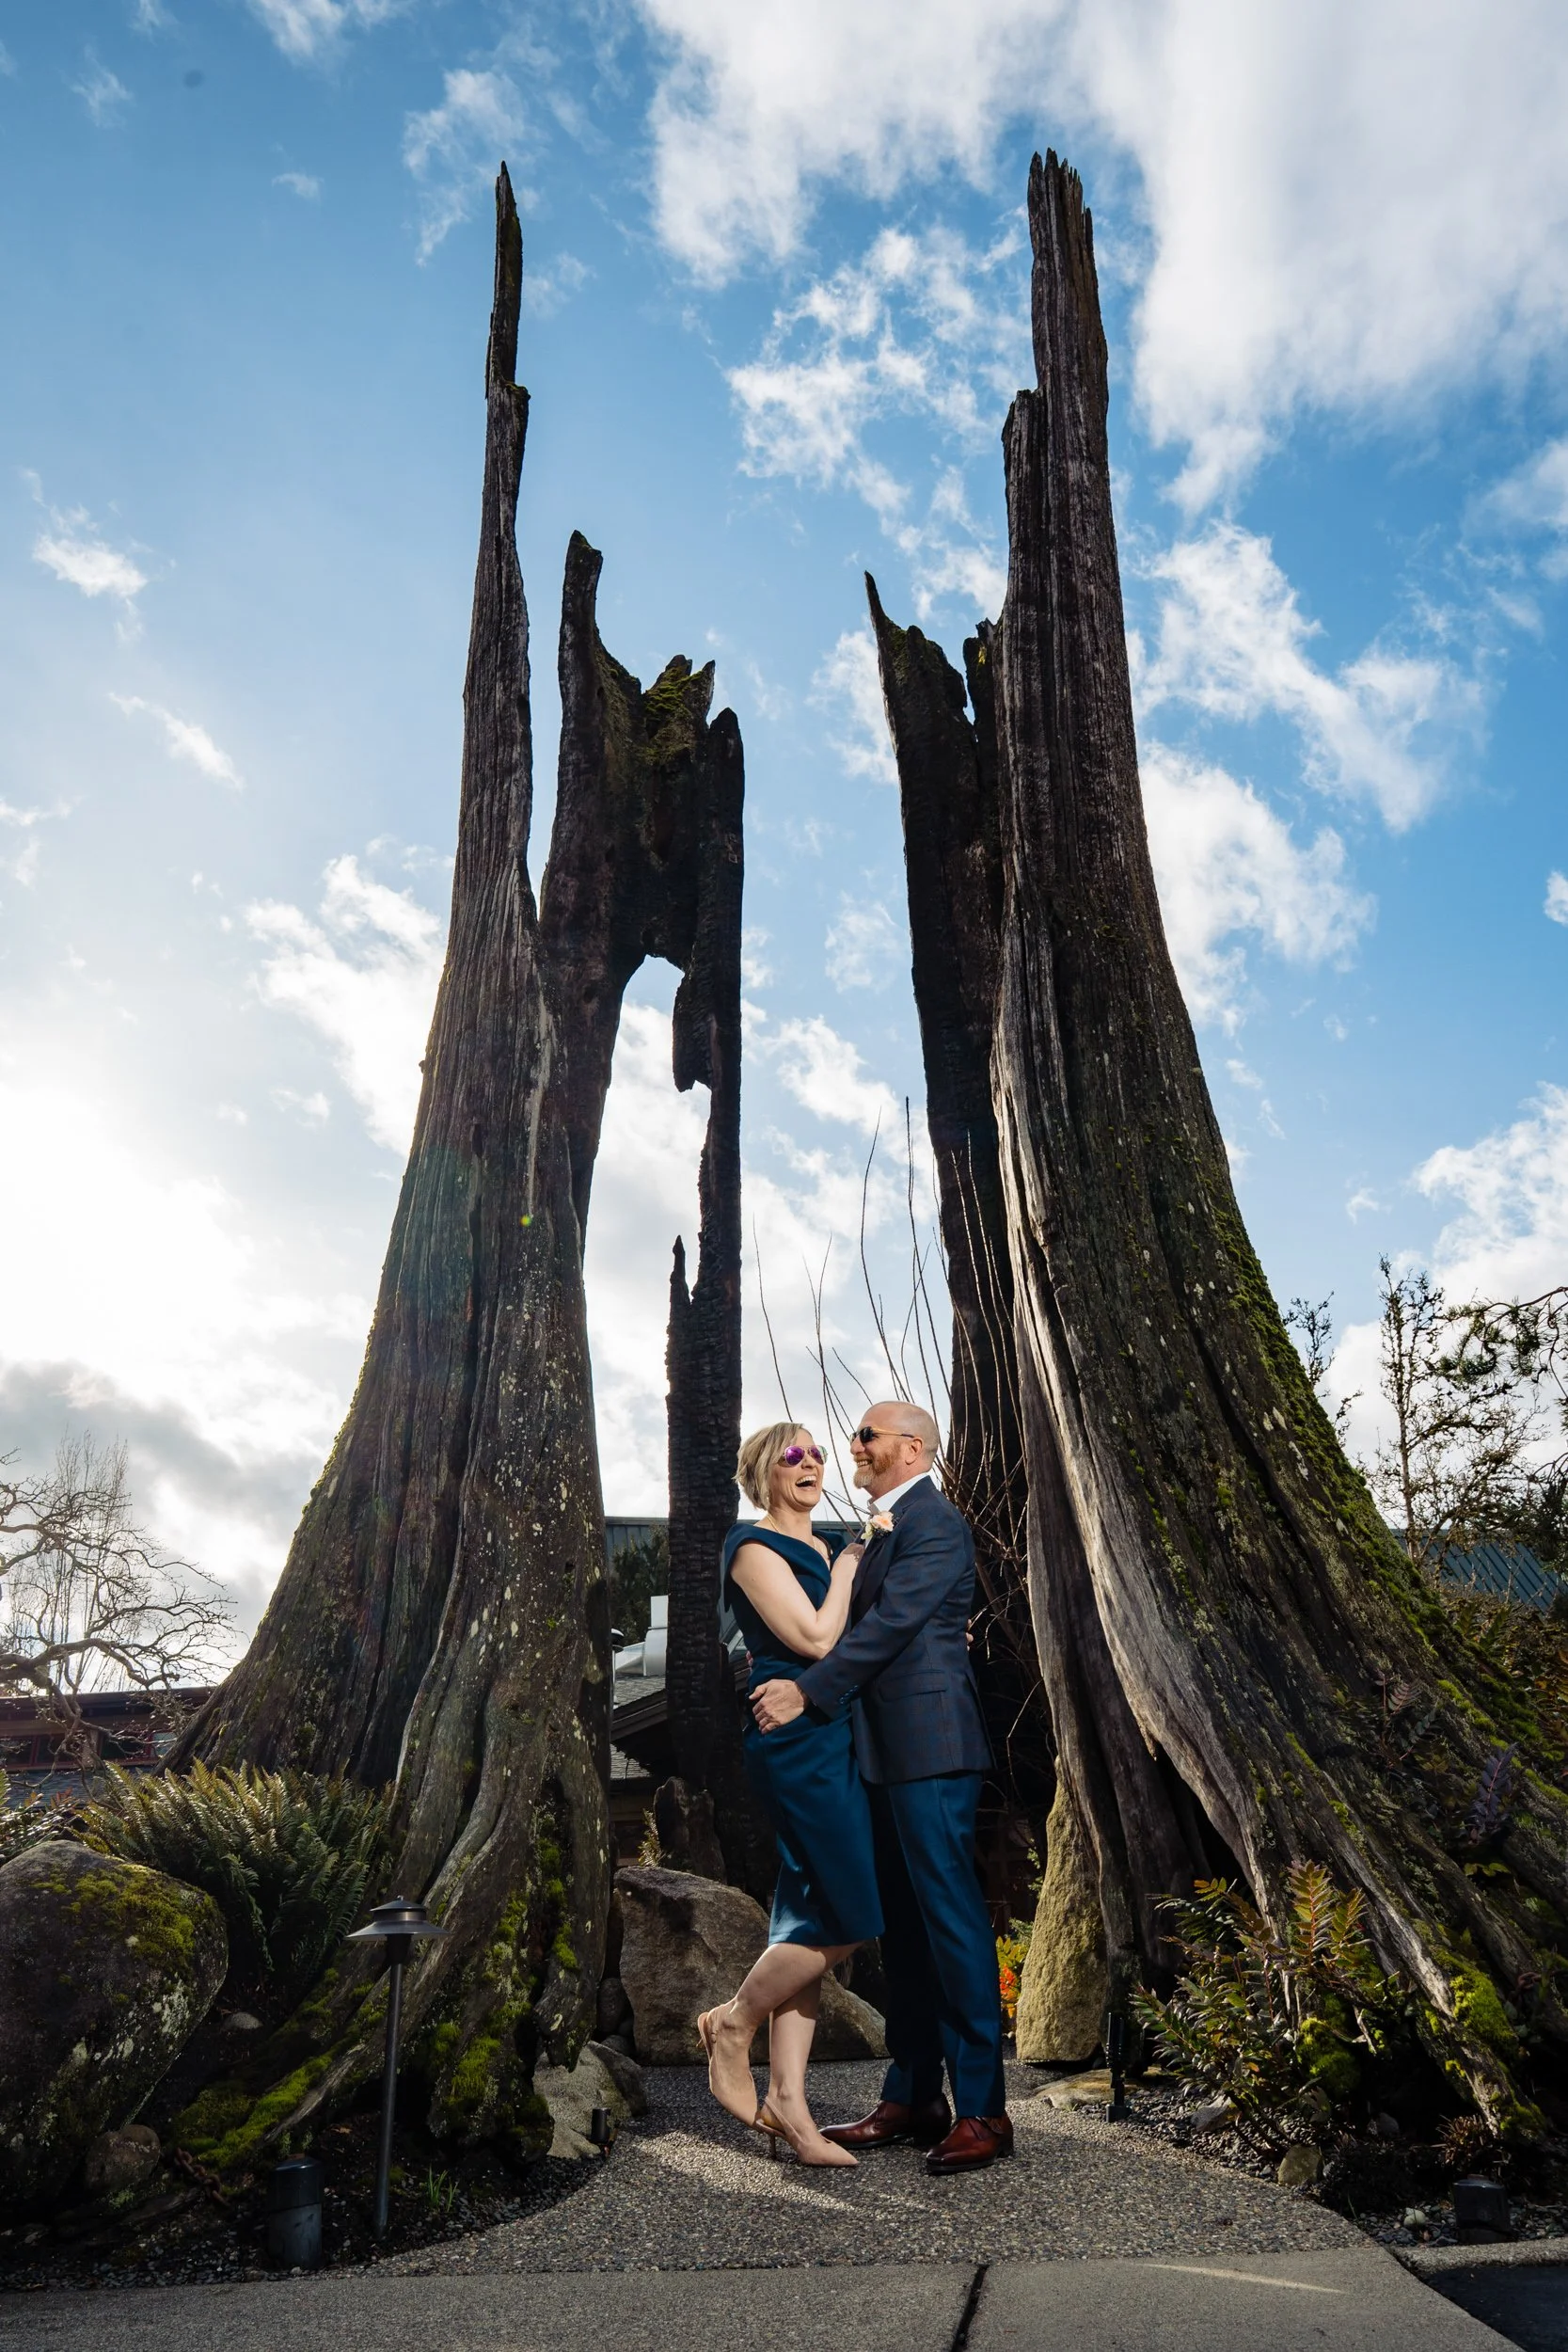
PNW Elopement Photographer
Johanna and Scott had the perfect Spring day for their Willows Lodge elopement.
Read More
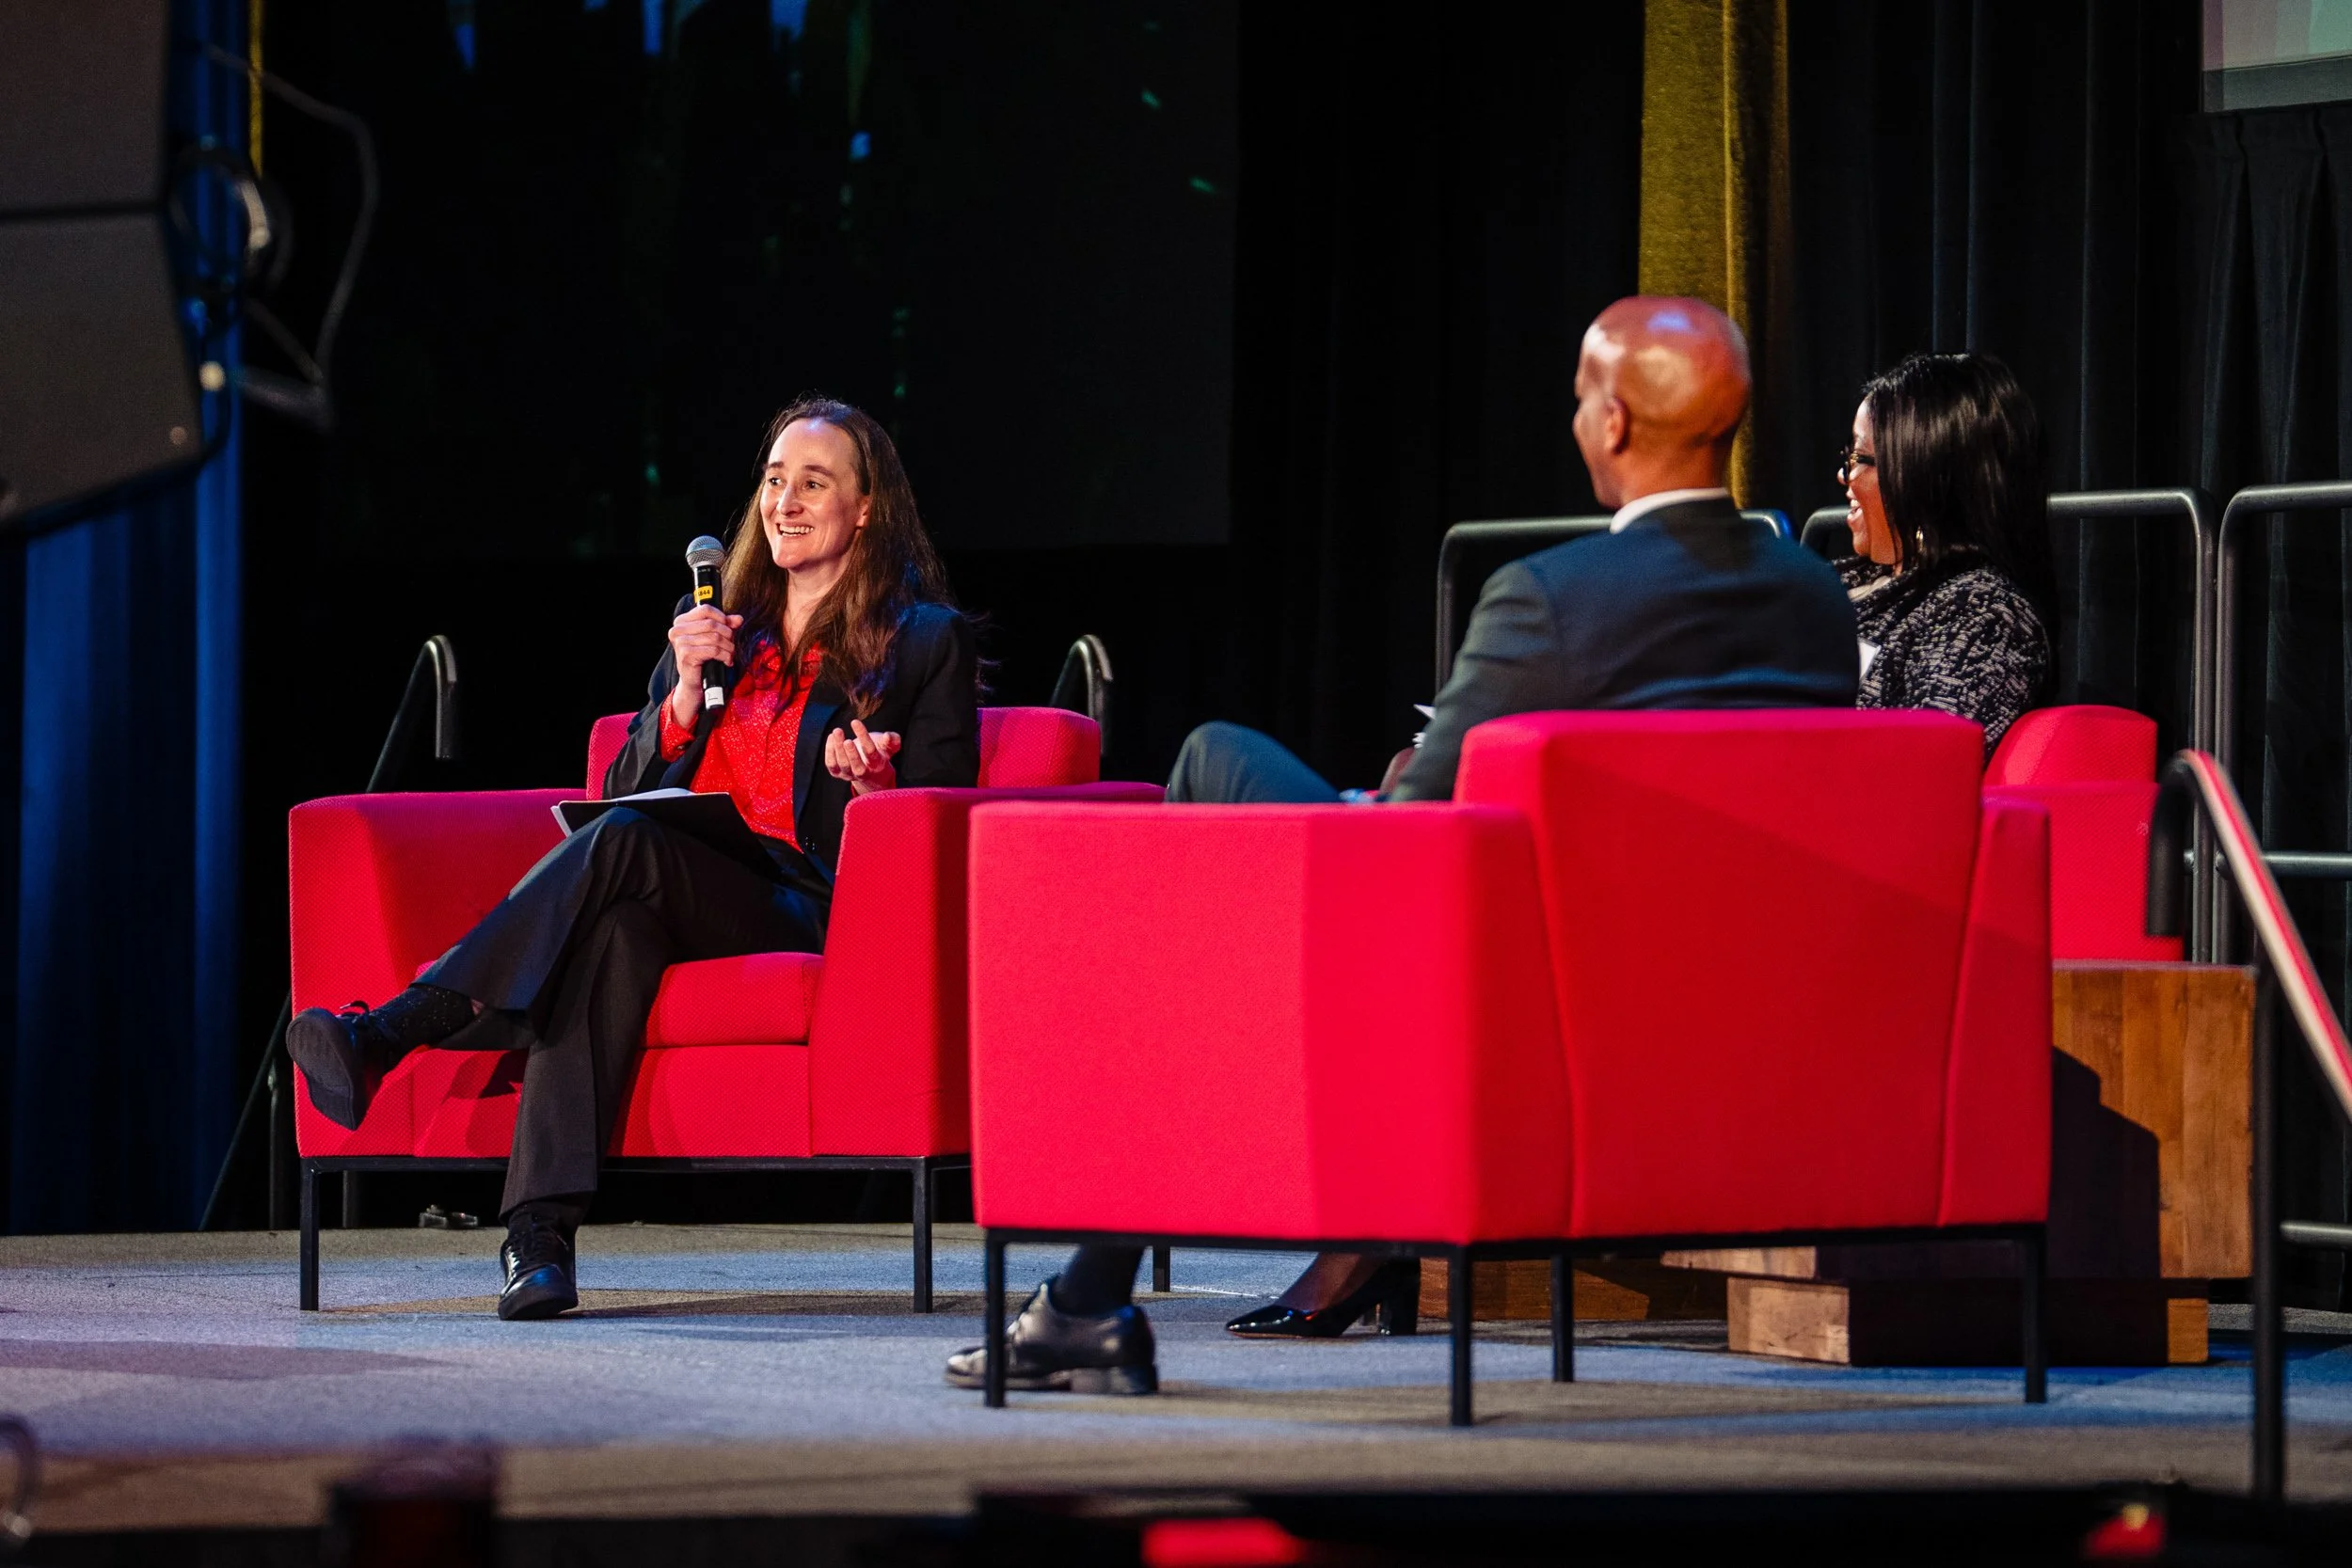
20 Stories in 12 Hours: The Art of the Trade Show Headshot Marathon
Trade shows are a whirlwind of networking, tight schedules, and high-stakes meetings. For a company bringing its global team together in one place, it is often the only window of opportunity to update their visual branding. A few years ago, I was given a unique challenge: provide 20 distinct, individualized professional portraits over the course of a single 12-hour day during at event at the Seattle Convention Center. Luckily, their office was within walking distance.
Read More
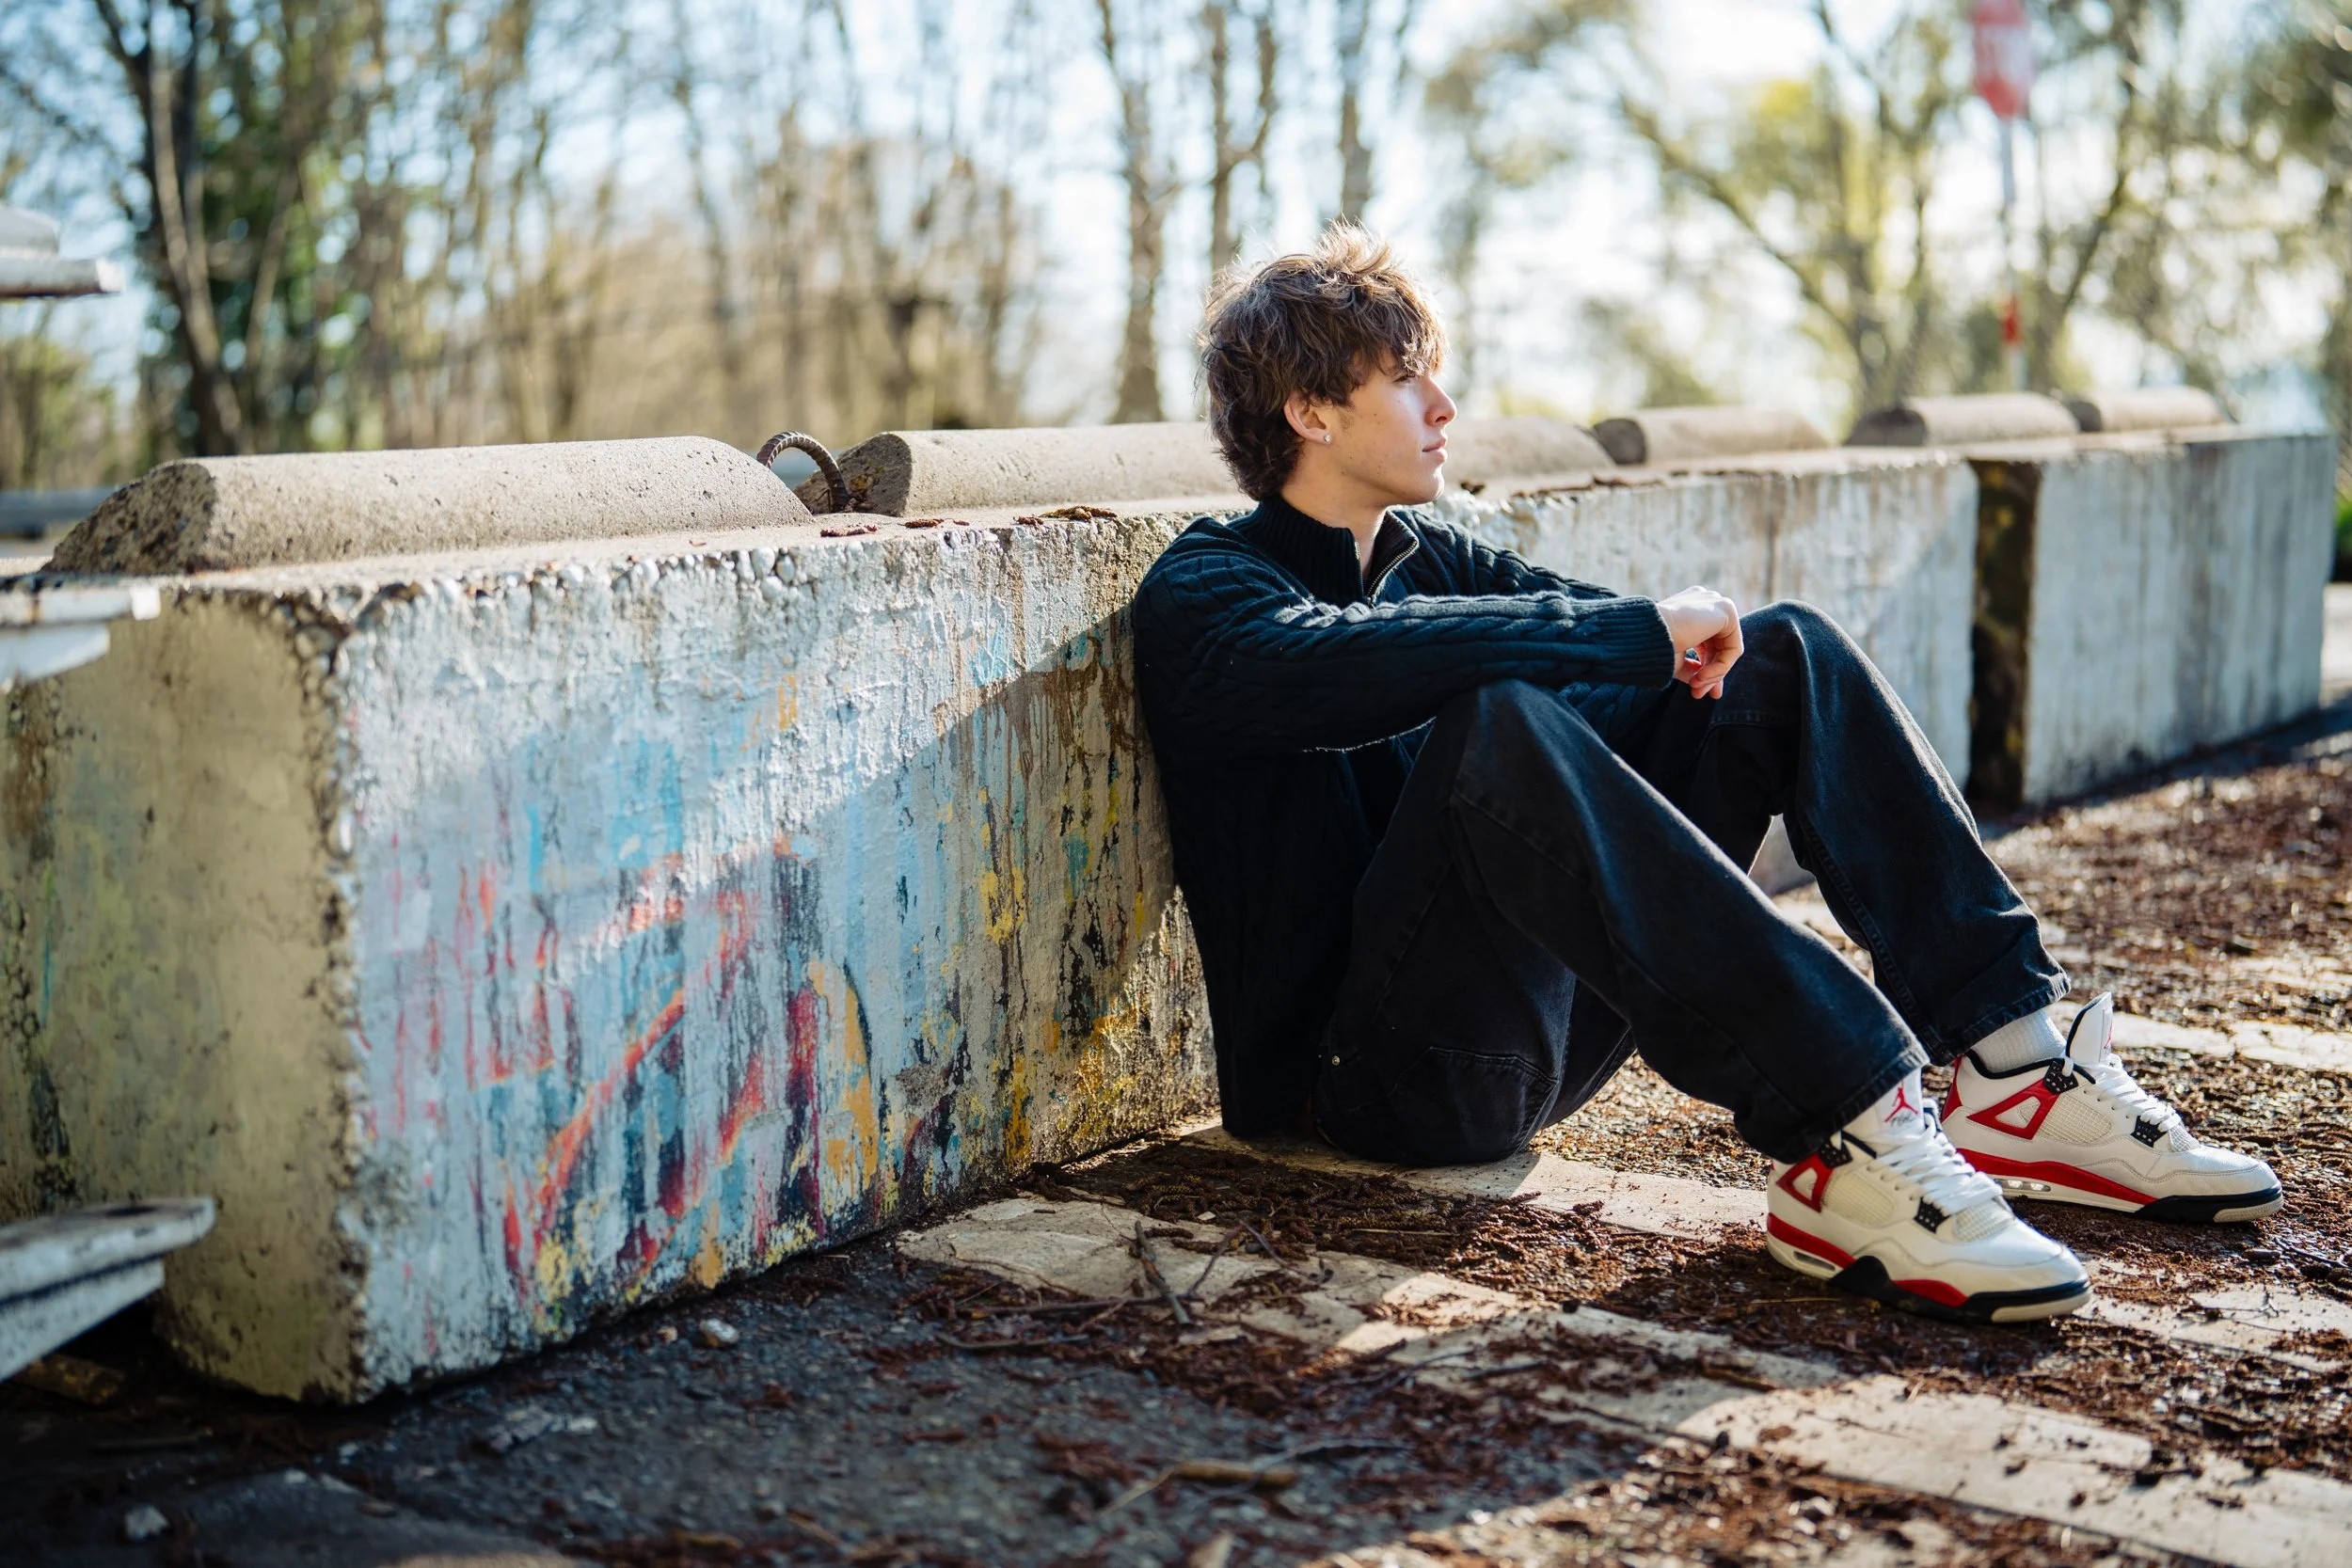
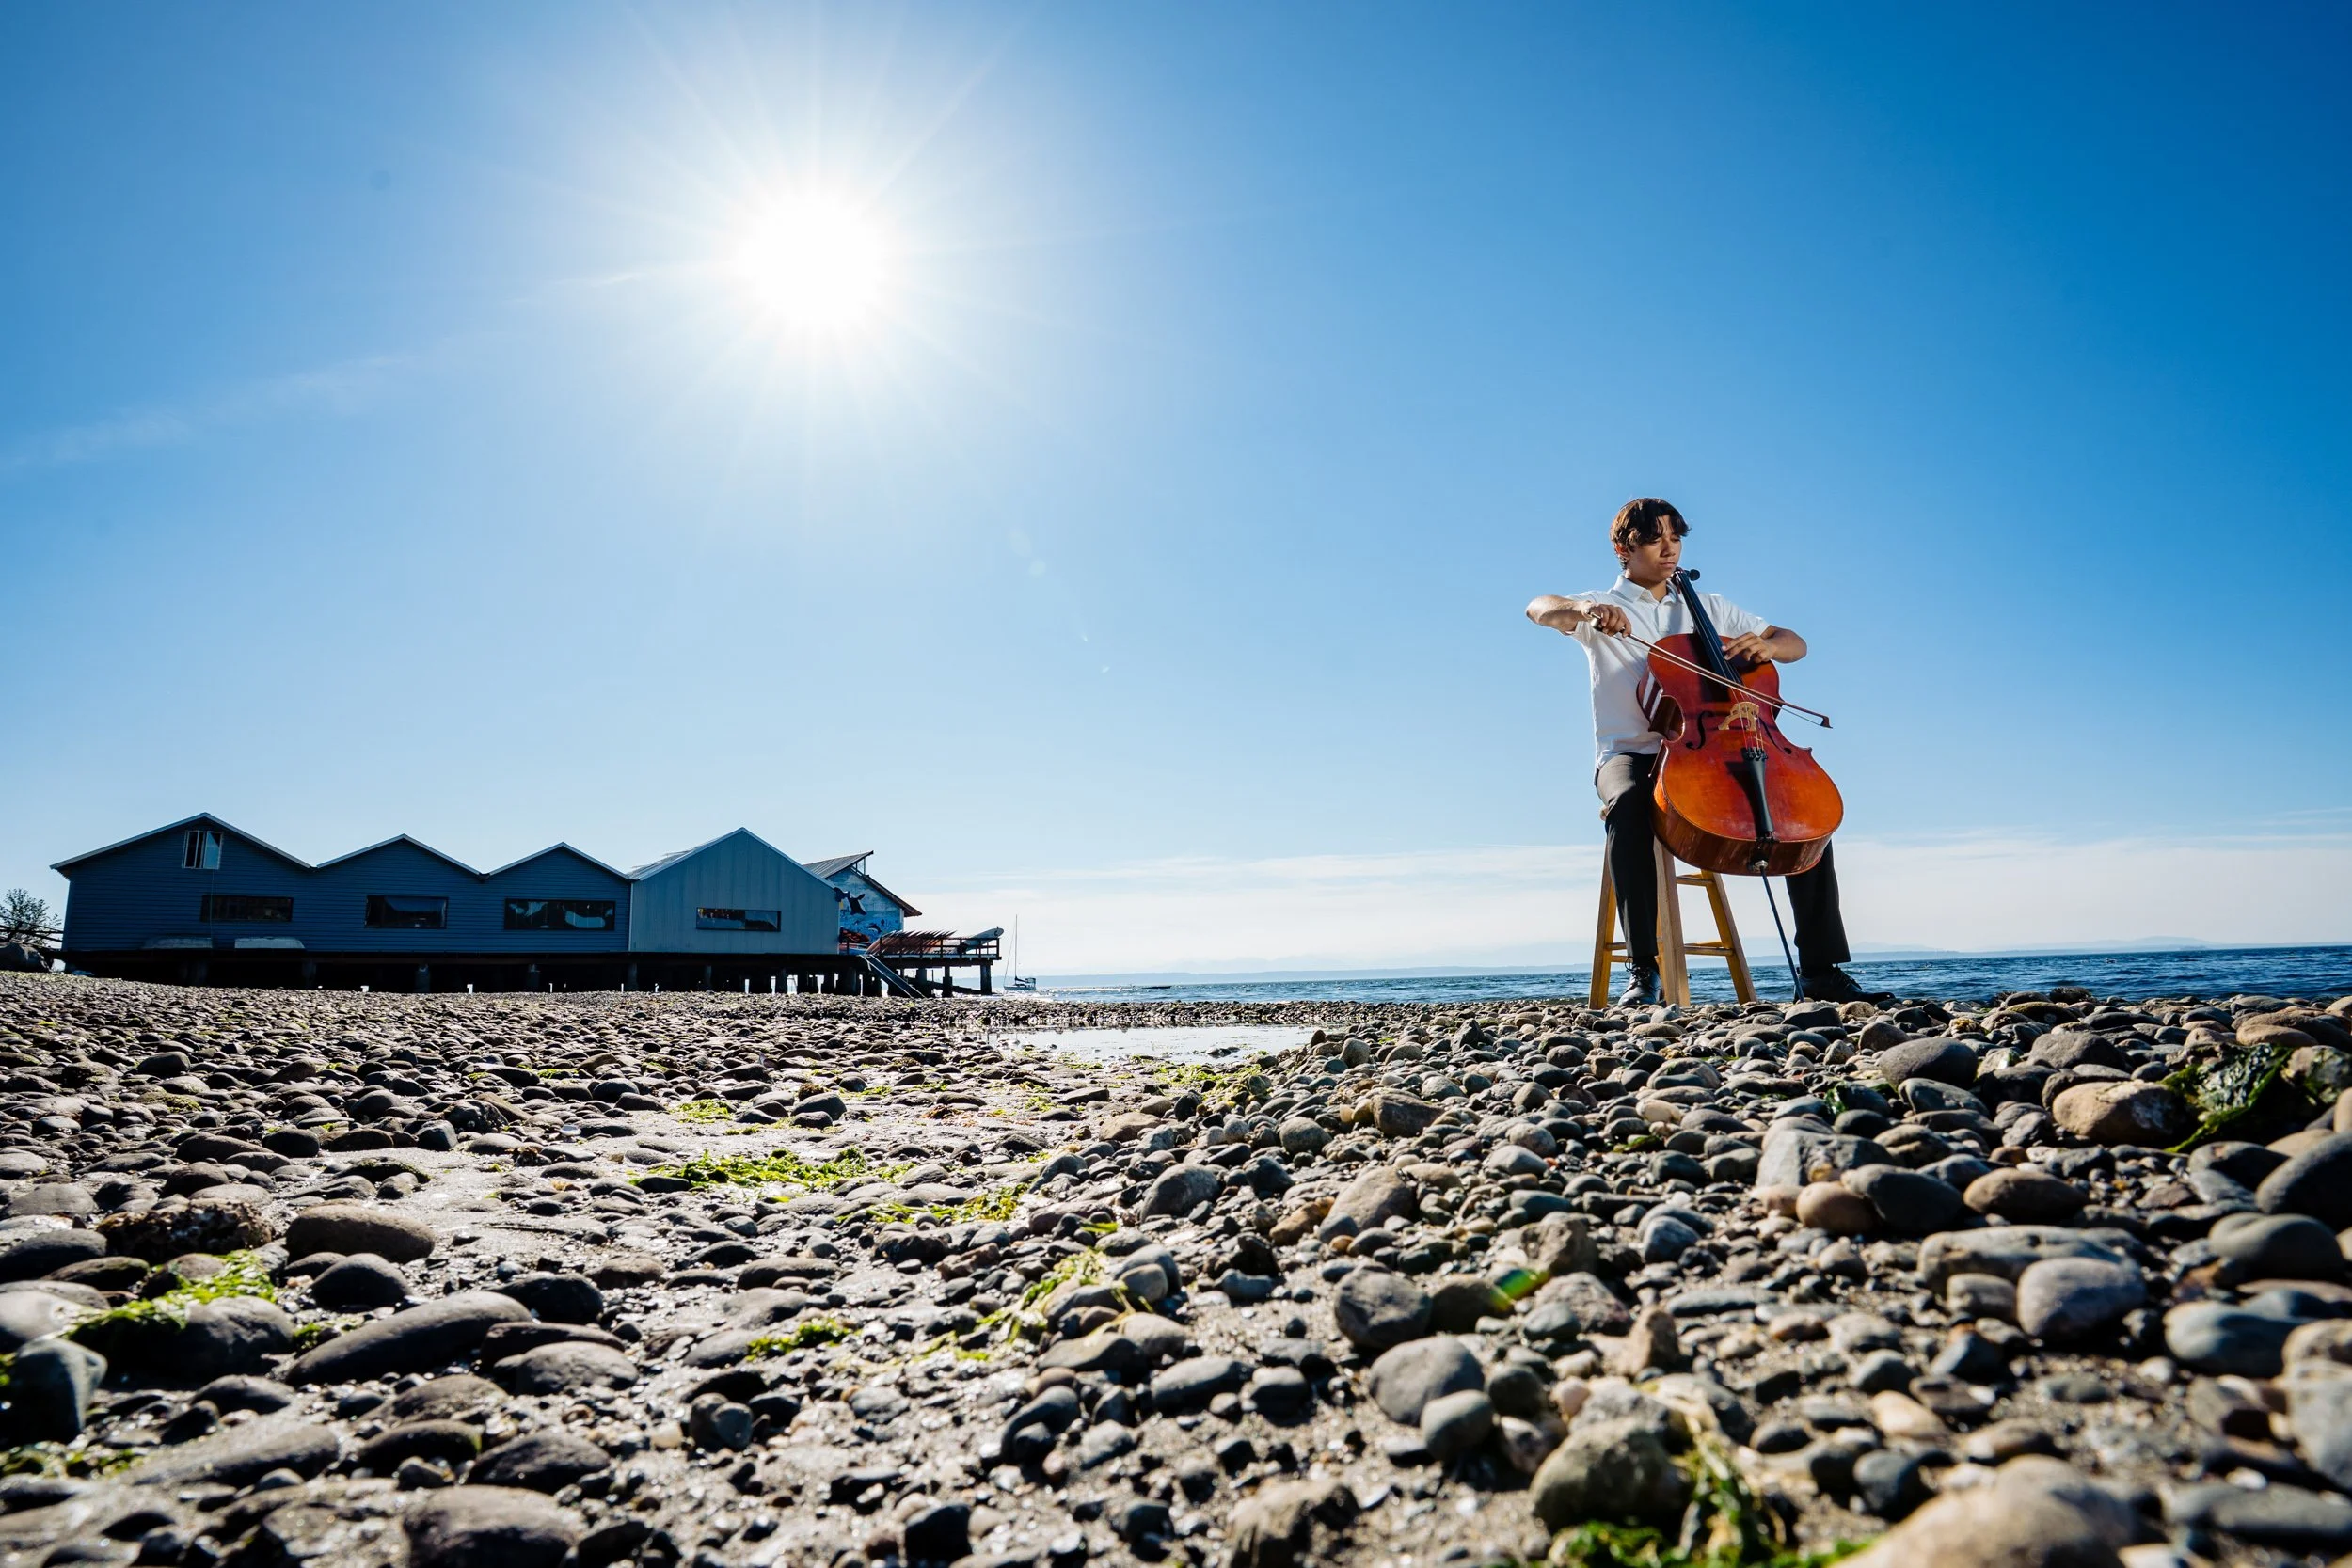
Seattle Senior Portraits at Golden Gardens
Senior portraits in Seattle at Golden Gardens. What a beautiful day, place, and a truly nice guy to photograph.
Read More
The Housing Development Consortium
We all know that Seattle needs more housing and more housing that people can afford. The Housing Development Consortium is a membership organization that strives to fulfil those needs by bringing together all of the parties to find solutions. My amazing son Kyler Parris works for them, so I have the honor of being their volunteer photographer. :)
Read More
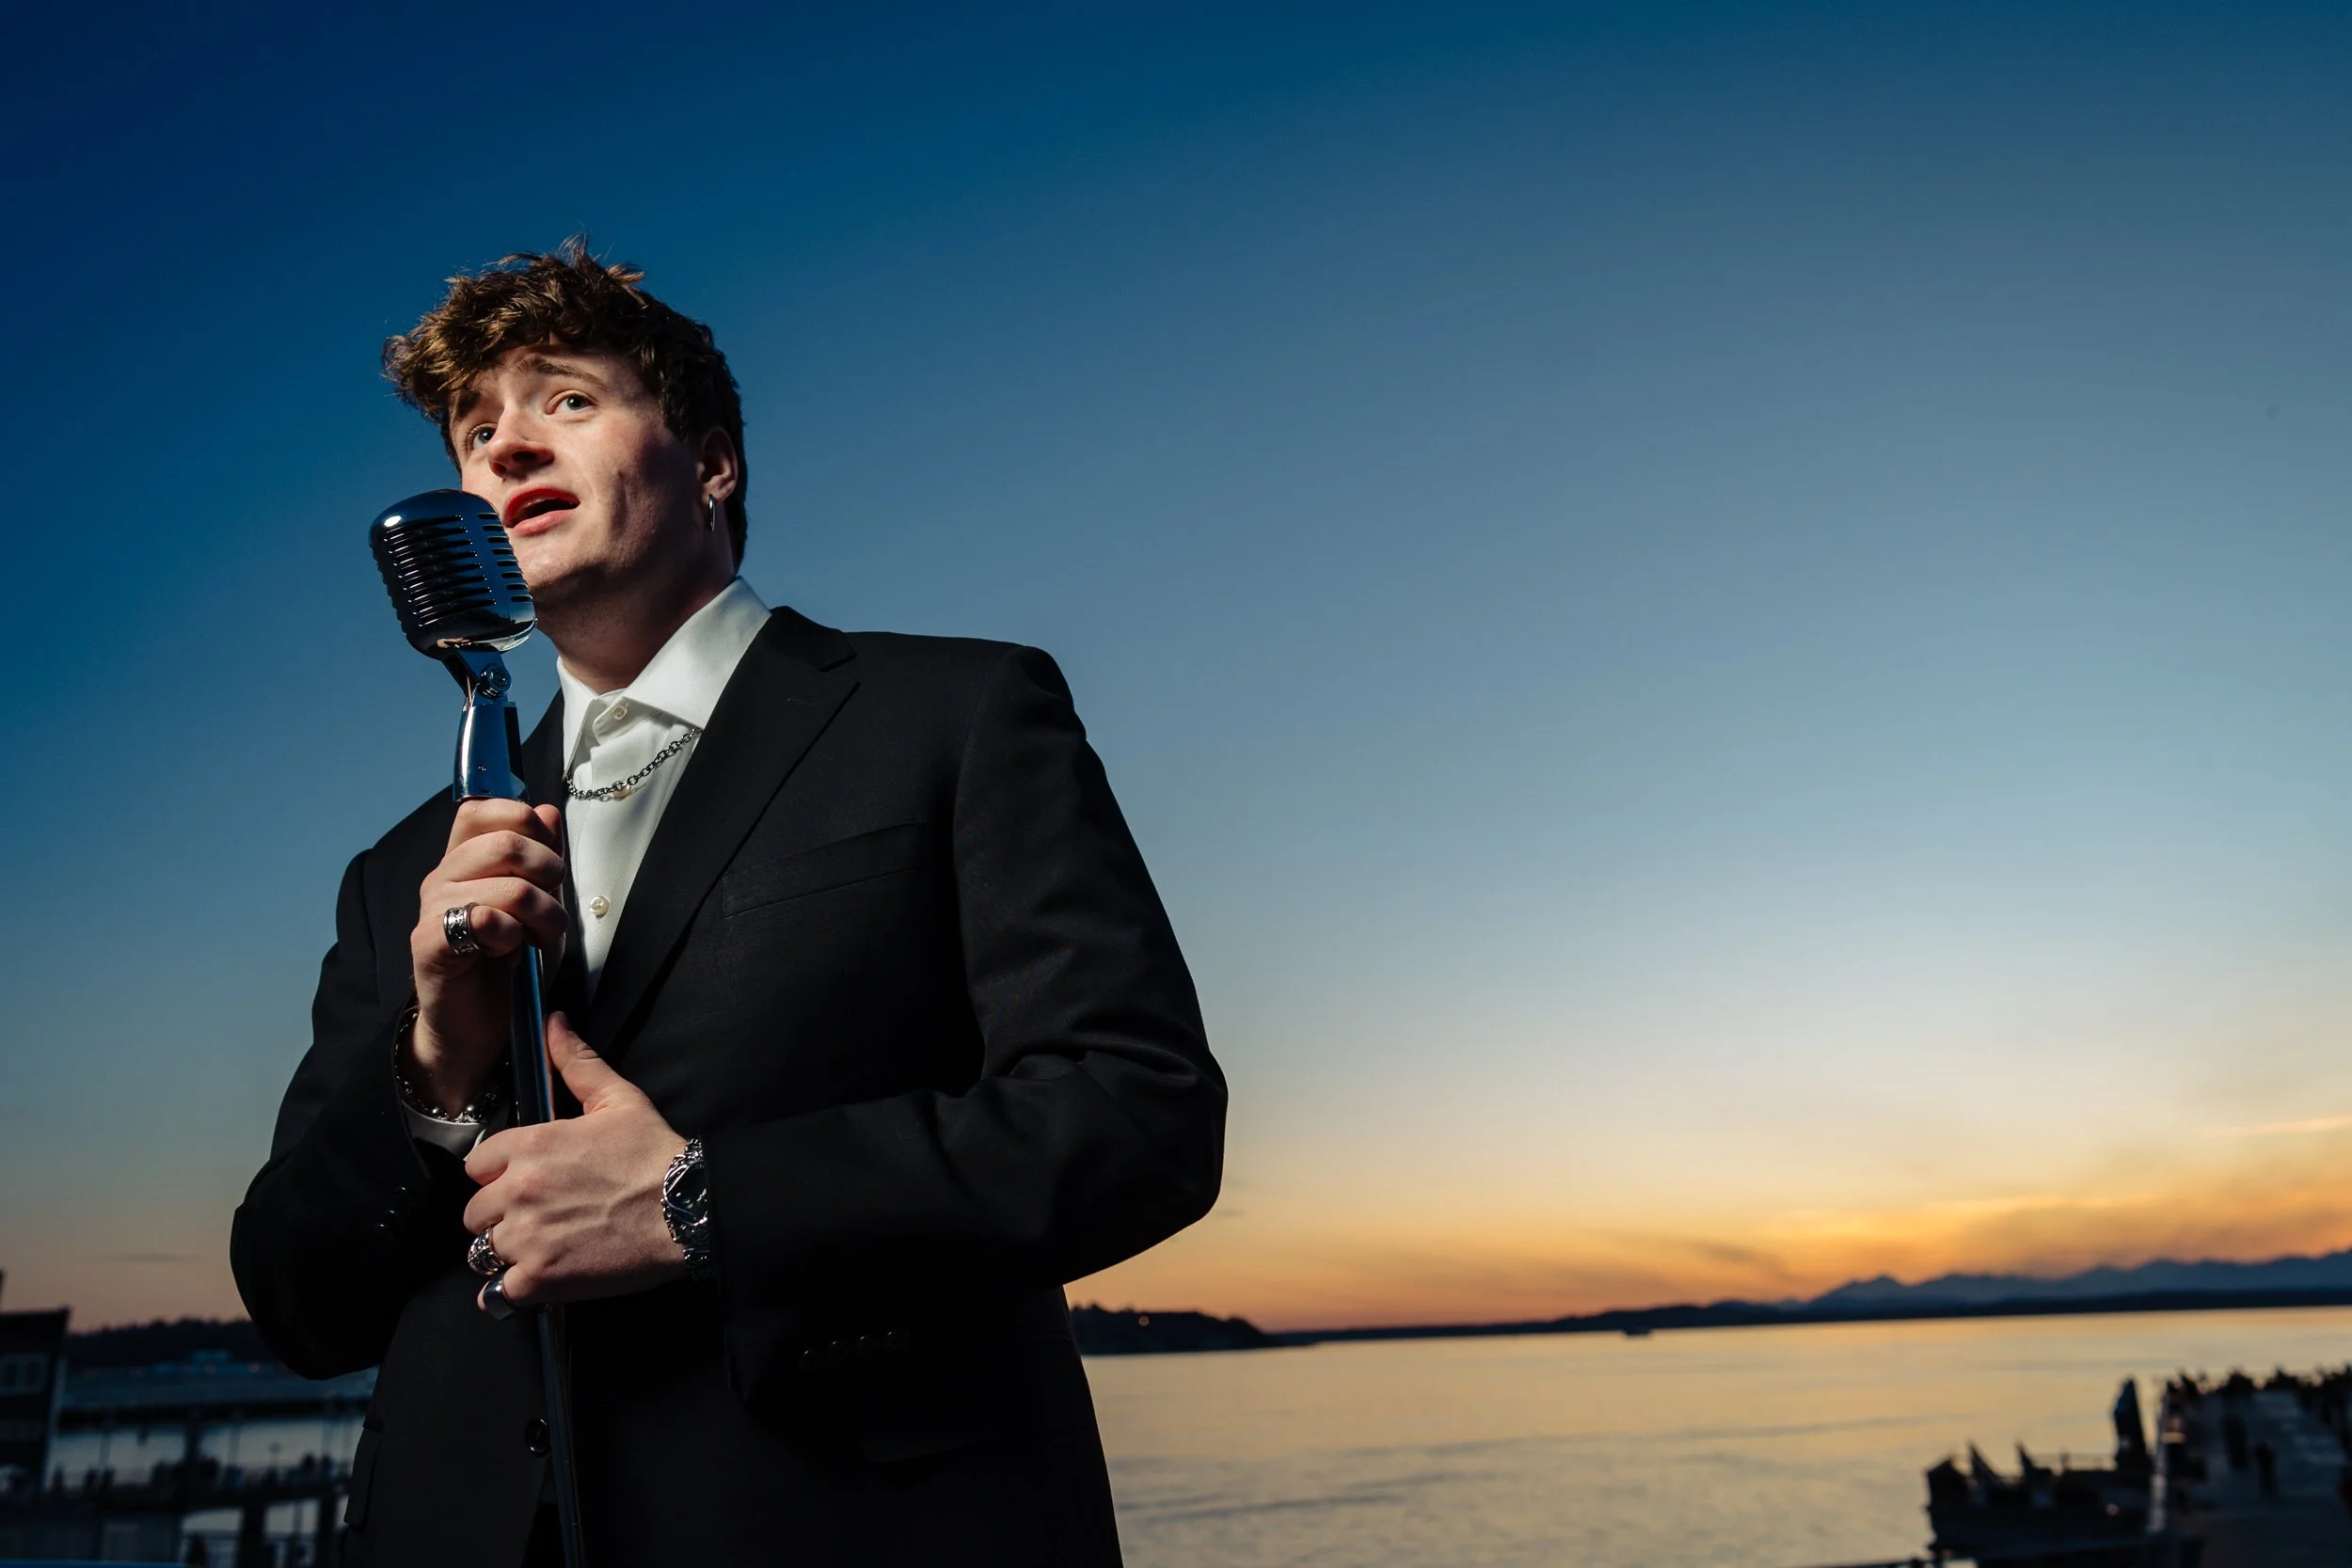
Seattle Senior Portraits
I love getting the opportunity to do some different and creative work. This was the final setup for the night. To illustrate our future opera singer, his mom bought a retro microphone and I used three lights to simulate stage lighting.
Read More
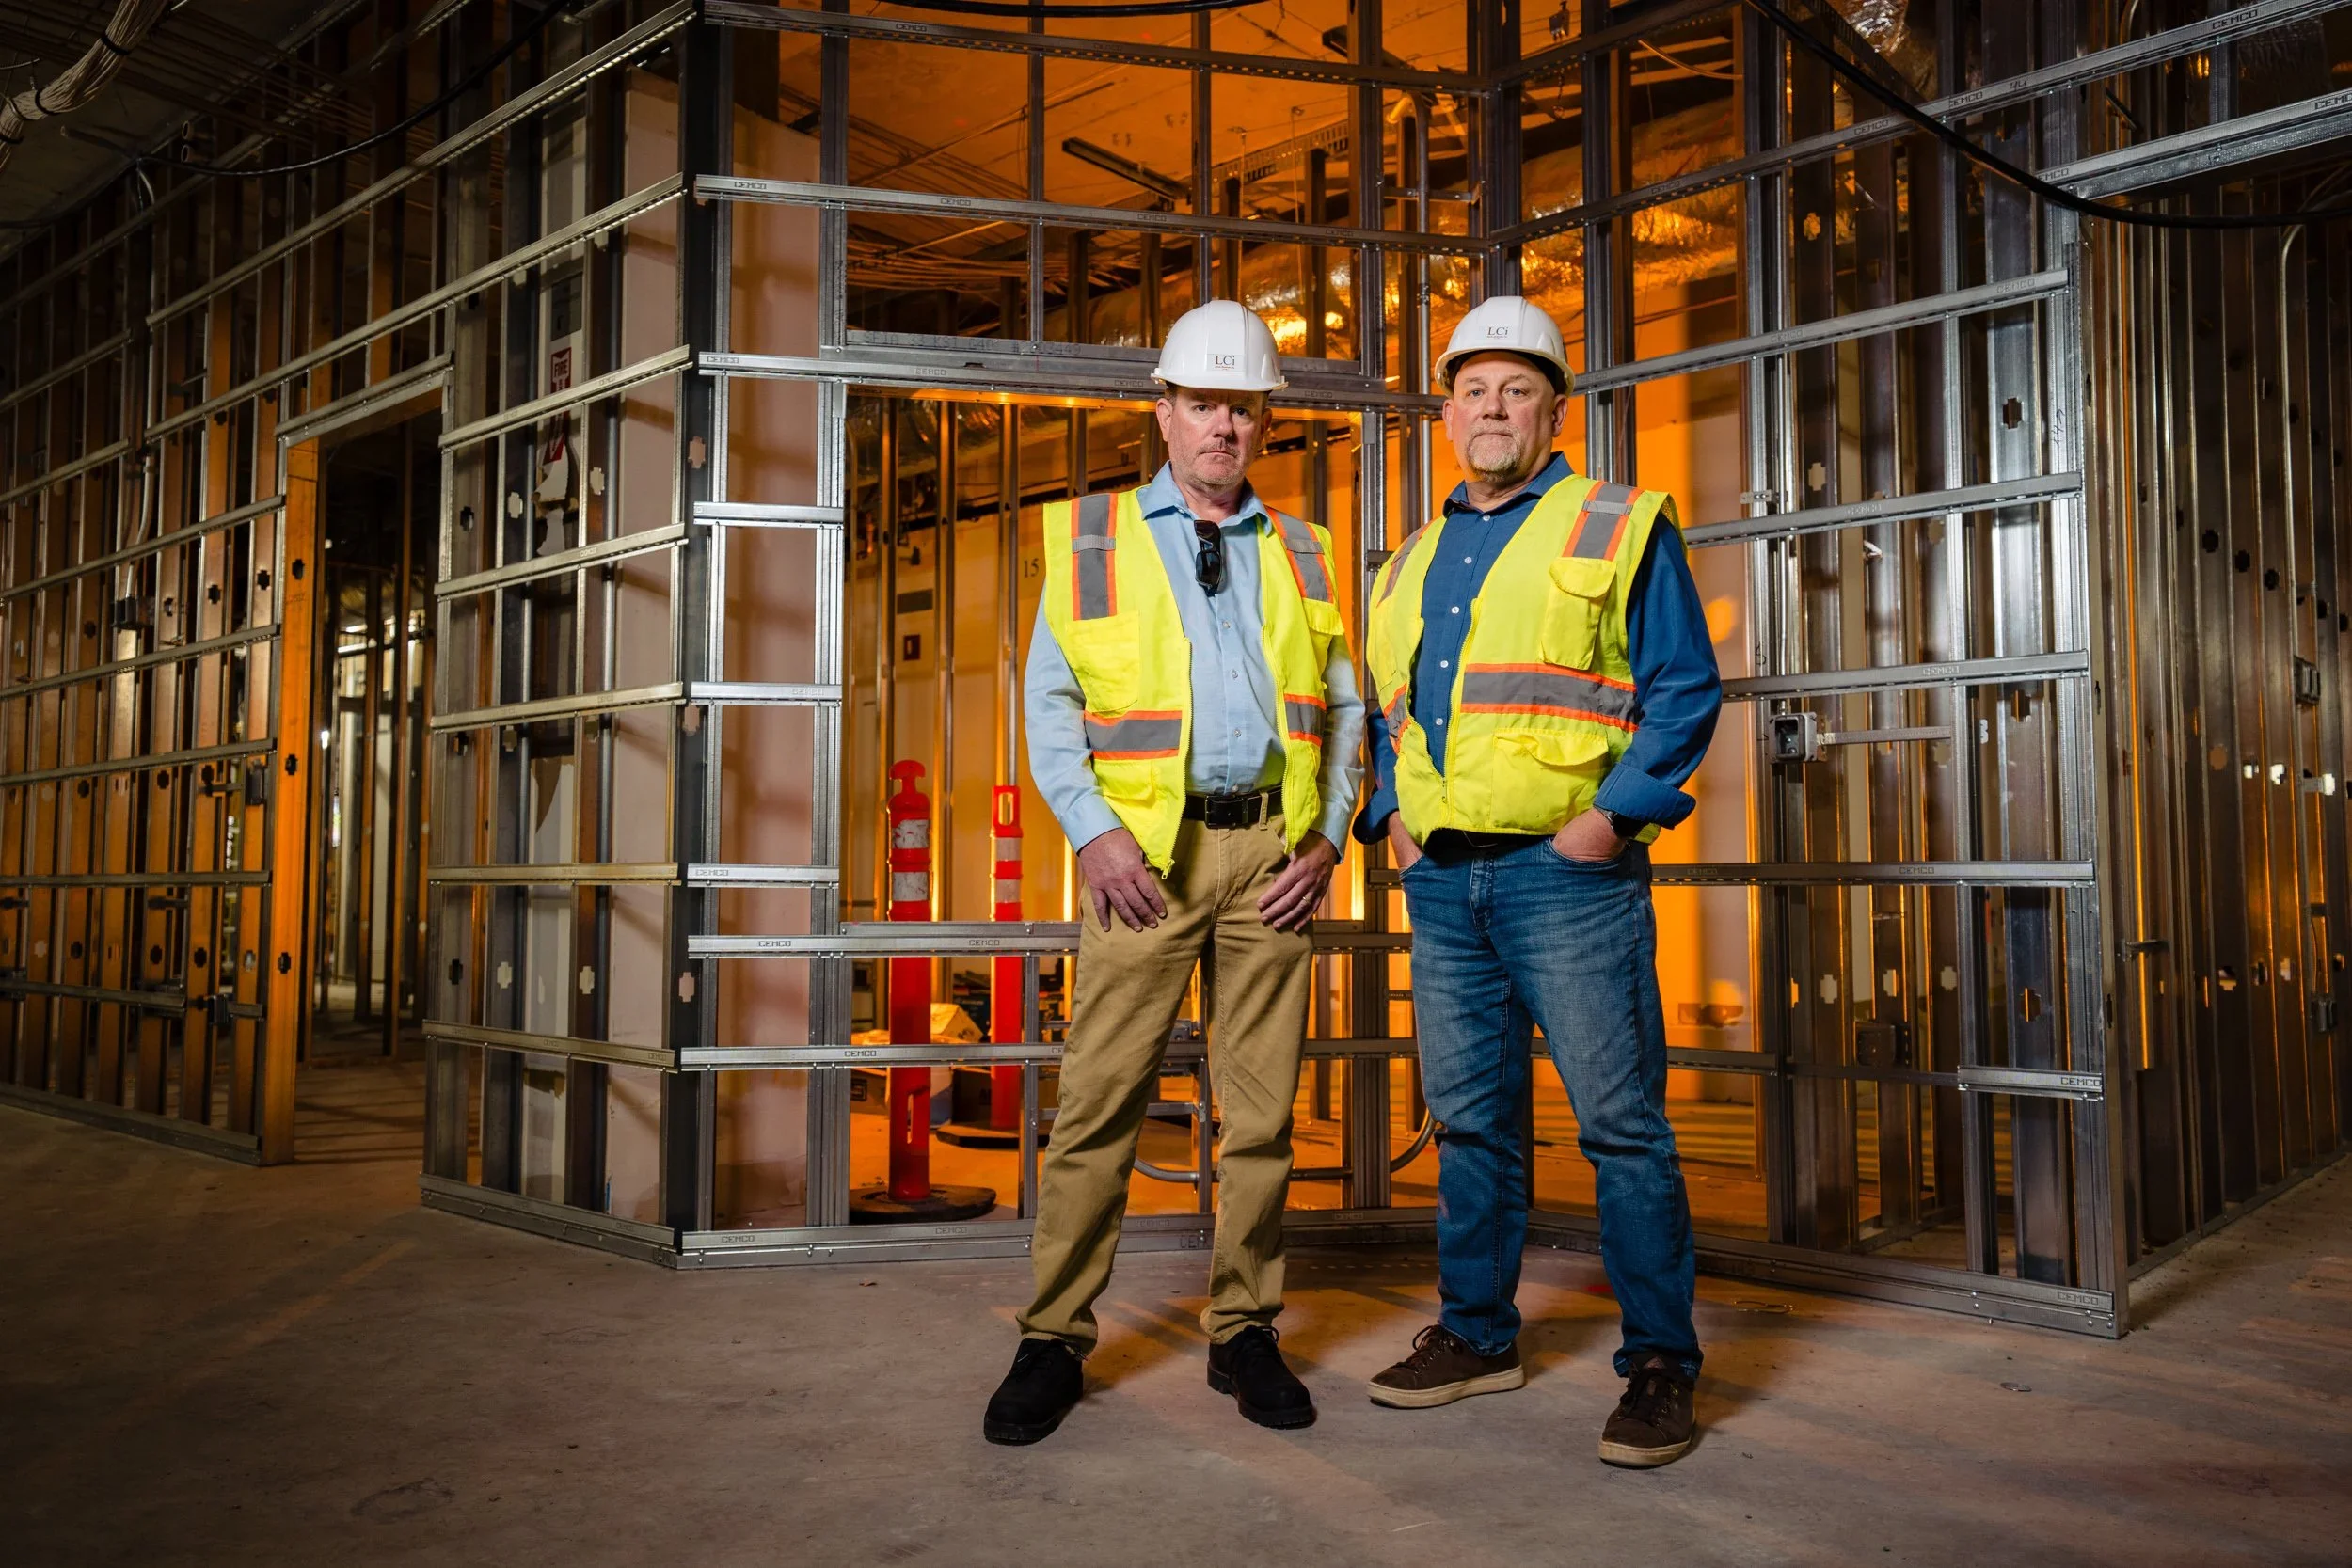
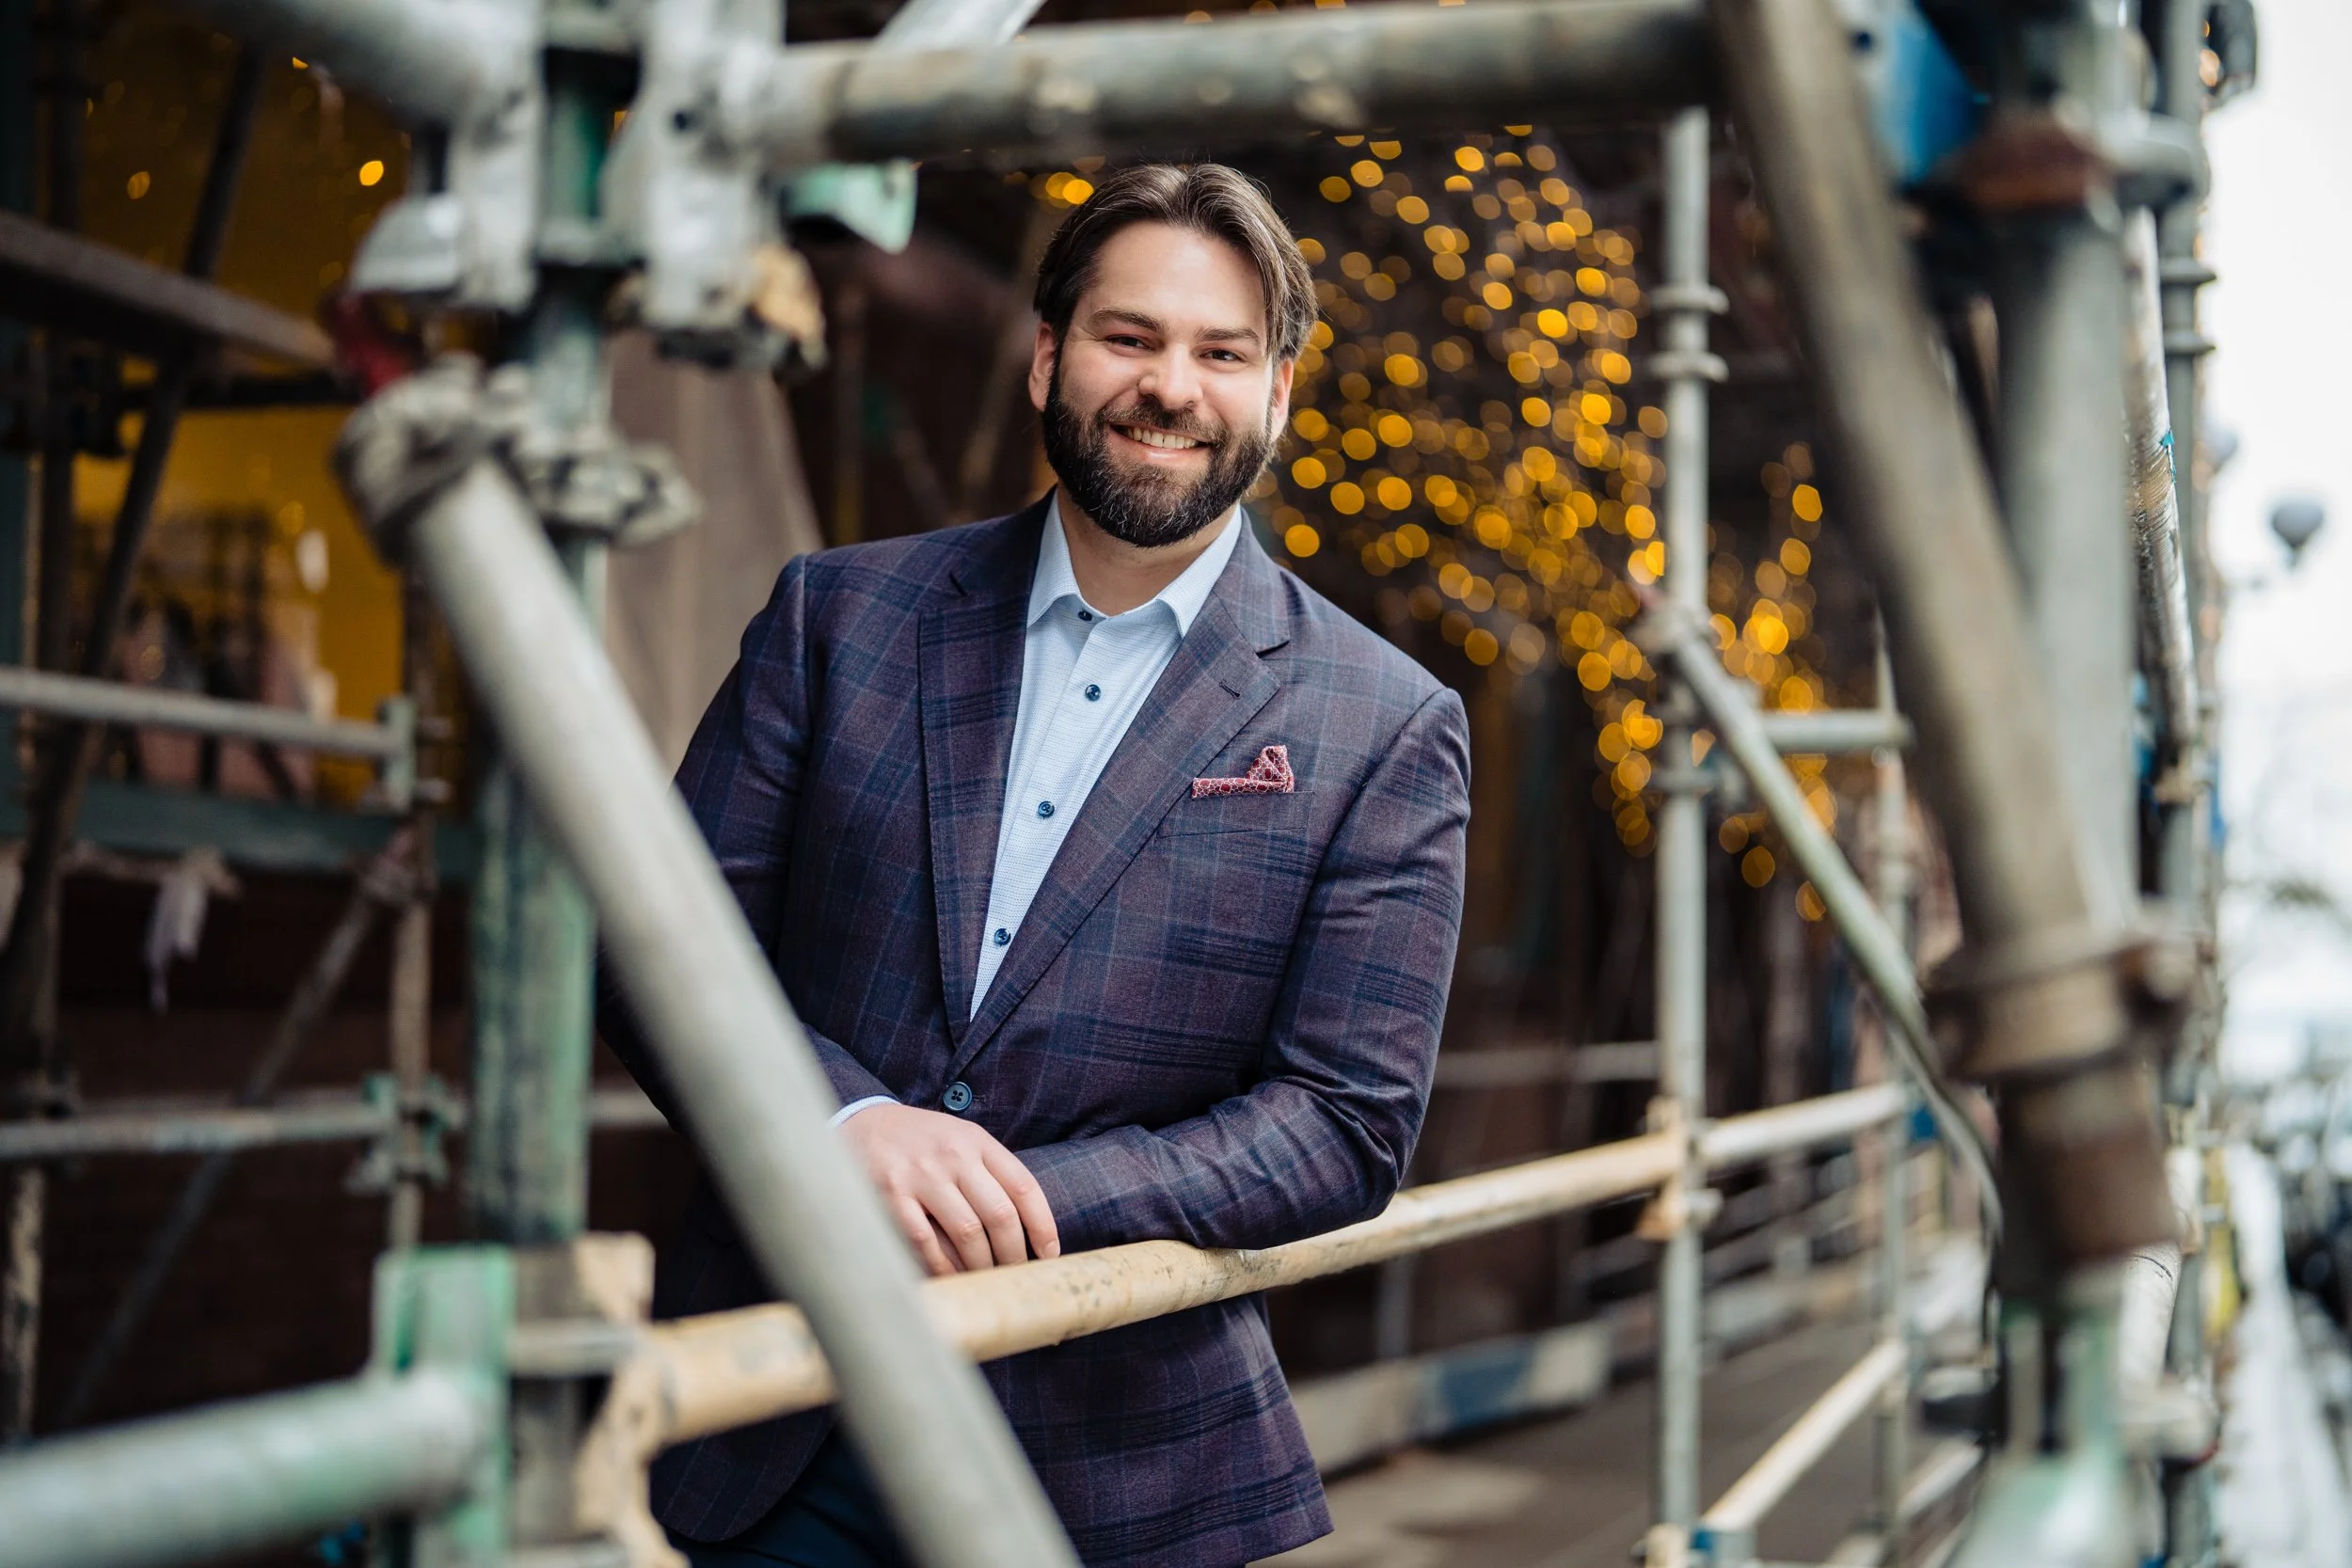
Construction Portraits
Business portraits for a construction company as well as some working and work culture images
Read More
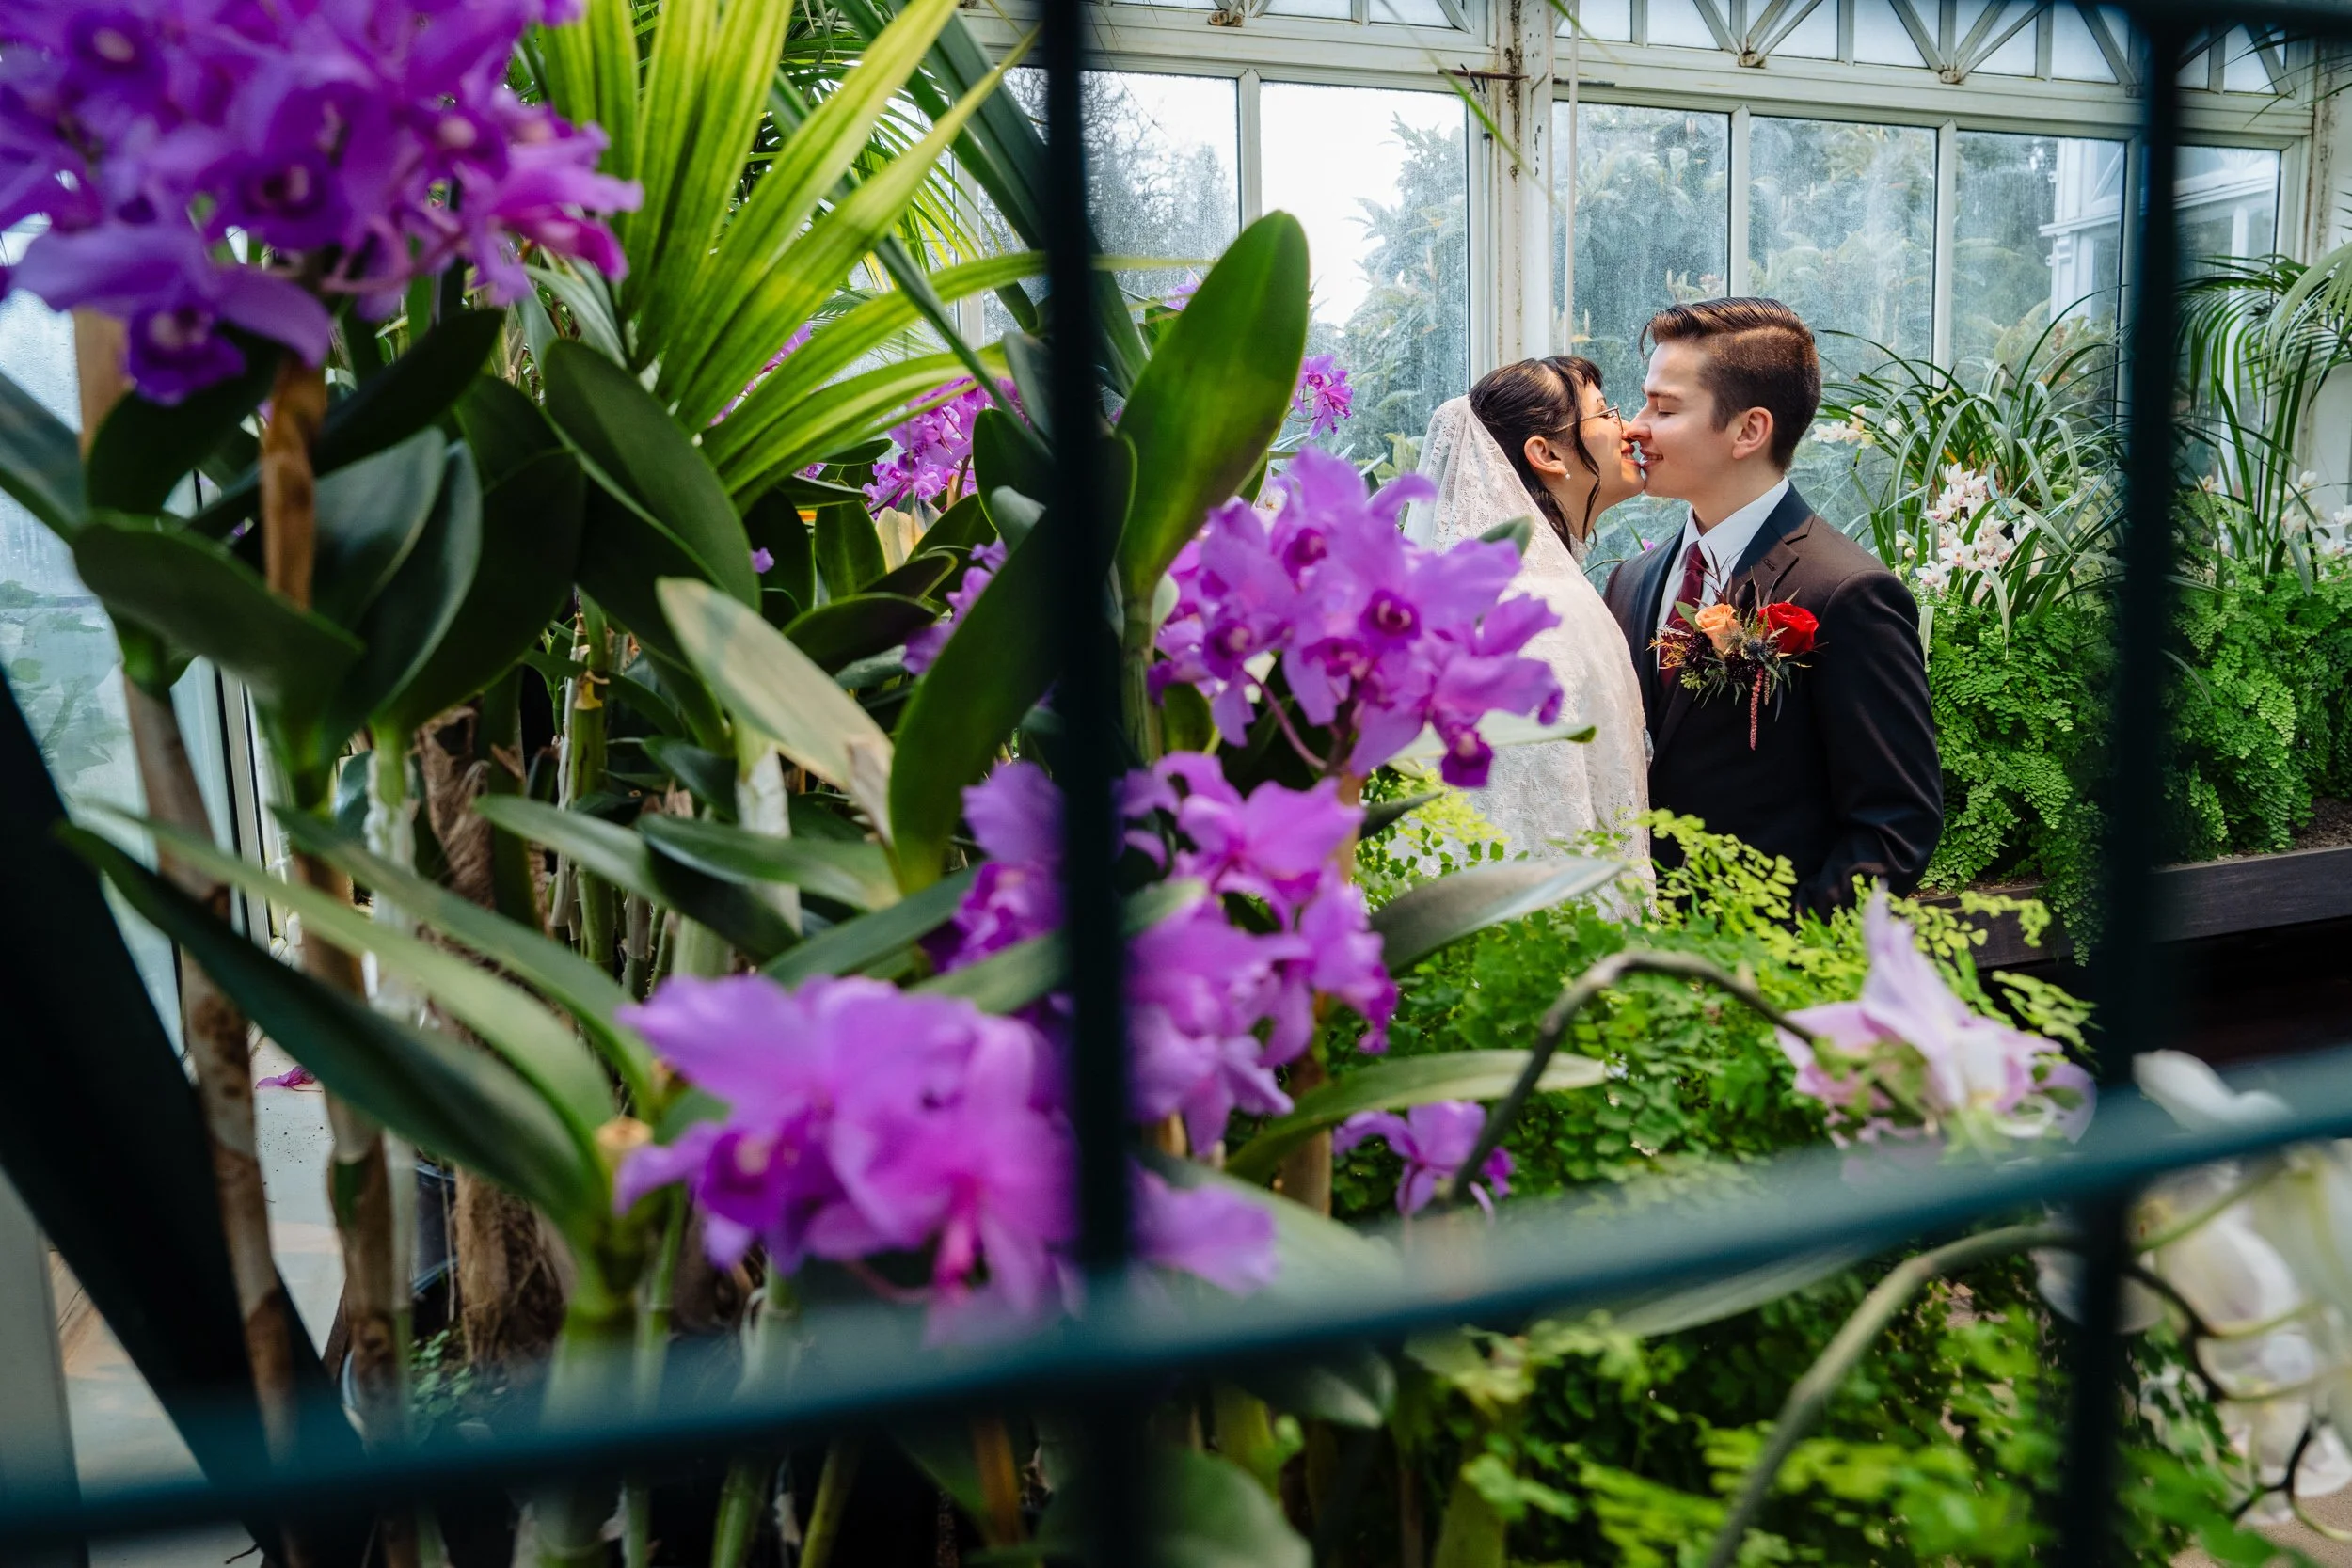
Volunteer Park Conservatory Micro Wedding
Seattle micro wedding at the Volunteer Park Conservatory
The Volunteer Park Conservatory is an amazingly beautiful building filled with lush gardens. It is a very cool, interesting place to have a very small wedding or elopement.
Read More
Imperia Lake Union Wedding
One of my favorite wedding venues in Seattle is Imperia Lake Union. Awesome art deco feel makes everything look cool. It is a little tricky to shoot in because of the lighting, so it is satisfying to have them look cool. All of the images have at least one flash with some as many as three.
Read More
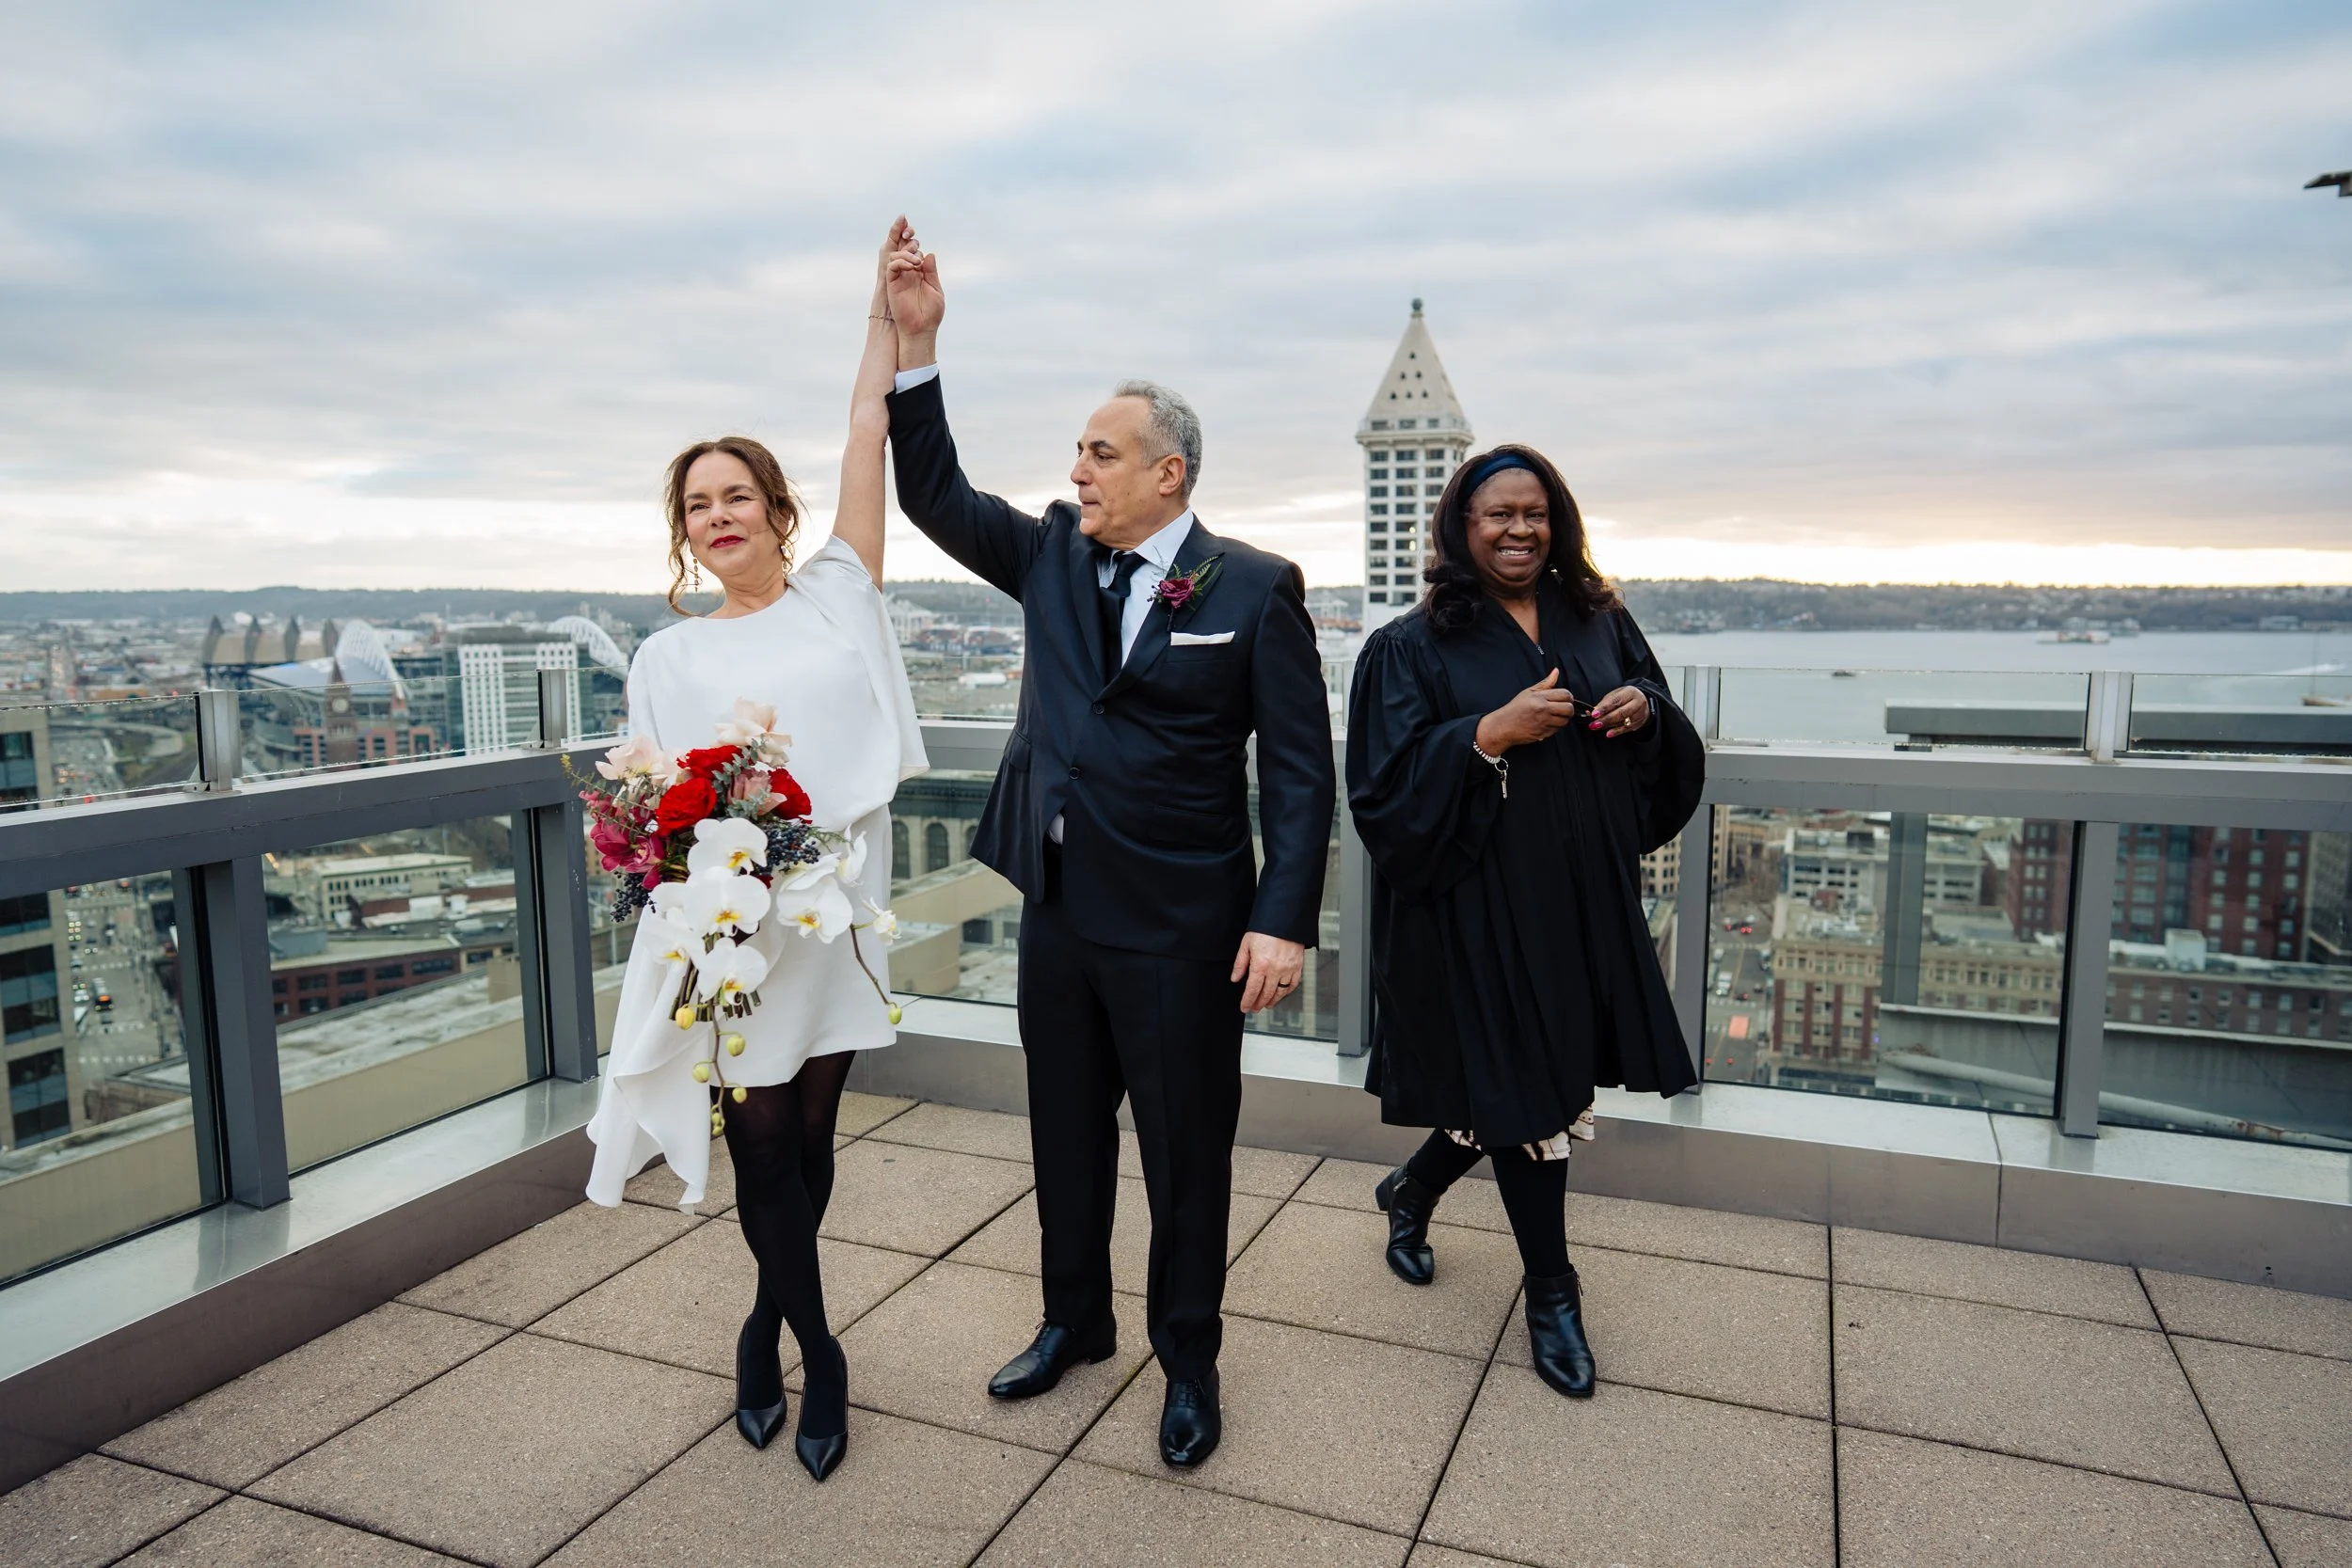
Municipal Court of Seattle Wedding
S&C were married on the rooftop of the Municipal Court of Seattle. It is a really beautiful spot for an elopement or small wedding. We started at the Fairmont Olympic Hotel before going to the court for the ceremony.
Read More